Delicious Mini Quiches for Any Meal or Snack
“`html
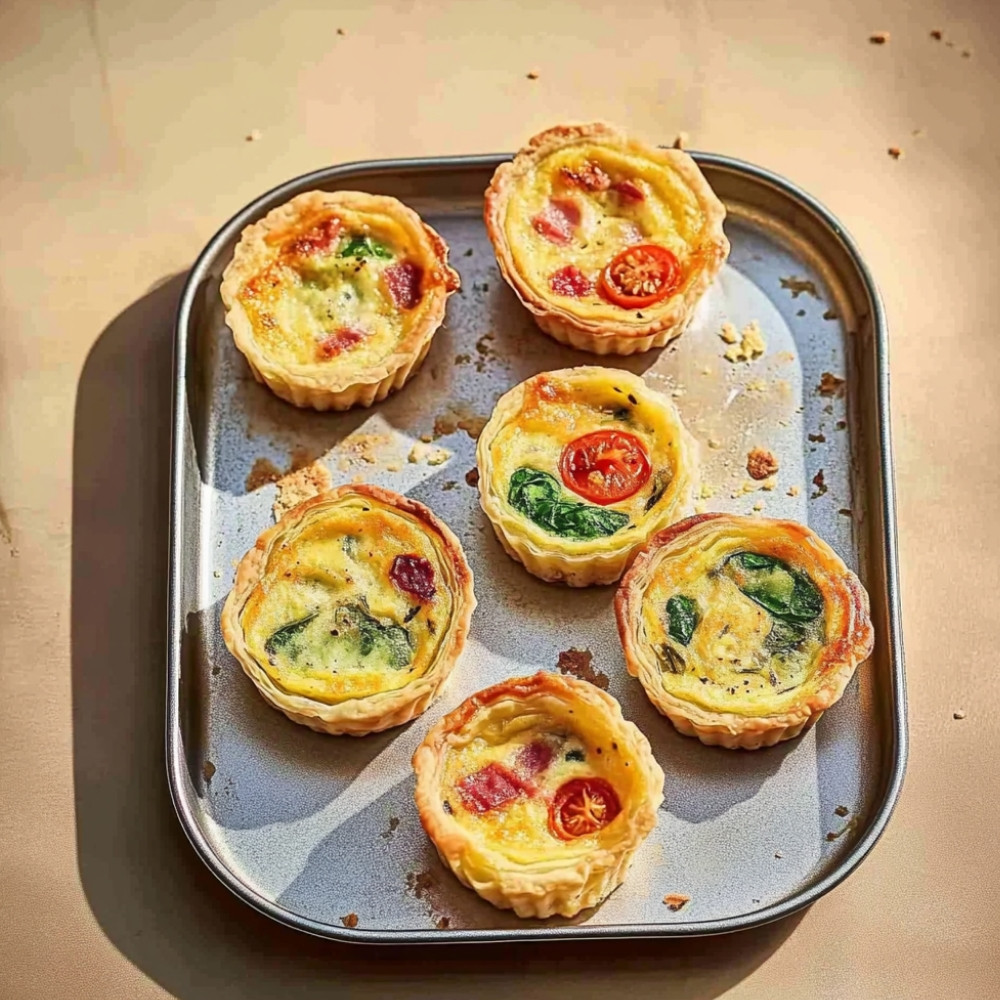
Oh, mini quiches! They’re like little bursts of joy, aren’t they? Picture this: as they bake, that warm, buttery scent fills your kitchen, making your mouth water… It’s a bit cozy and comforting, like a hug from your grandma. And really, they’re such a breeze to whip up—perfect for brunch, snacks, or even dinner when you want something light yet satisfying. You can mix and match fillings to suit whatever you have on hand or what you love best—just… so versatile!
Why You’ll Crave It
- Perfect little bites for any occasion—great for brunch, parties, or just a quick snack.
- Totally customizable—swap in your favorite veggies, meats, or cheeses for unique flavors.
- Kid-friendly! Even picky eaters can find something they’ll like, and they’re just fun to eat.
- Easy to make ahead—cook them up and freeze for a quick meal later. Trust me, you’ll thank yourself!
The first time I made these, my sister basically declared them a family heirloom…
What You’ll Need
- For the Pastry: 250g plain flour, 125g chilled butter (cut into tiny cubes), a pinch of salt, 1 large egg yolk, and about 2-3 tablespoons of cold water.
- For the Filling: 4 large eggs, 300ml double cream, 100g of cheese (think cheddar or feta, grated), plus 200g of cooked meats or veggies (like ham, spinach, or mushrooms), and salt and pepper, to taste.
Easy How-To
Prep the Oven and Pastry
First things first, let’s set the mood—preheat your oven to 200°C (or 400°F, if that’s easier). Now grab a mini muffin tin and grease it up a bit with oil or butter. Next, roll out the pastry on a floured surface, aiming for about 3mm thick. Then cut out some circles a little bigger than the muffin tin holes… you’ll want them to fit snugly.
Assemble the Mini Quiches
Now here comes the fun part—gently place each pastry circle into the muffin holes, pushing them down lightly to fit. In a separate bowl, whisk together those eggs and cream until they, you know, look all creamy and delicious. Then stir in your fillings—so whatever you choose like cheese, spinach, or even leftovers from the fridge, go wild!
Bake ‘Em Up
Pour that filling into each pastry case until they’re just about full—don’t overflow or you’ll have a messy oven! Into the oven they go for about 15 to 20 minutes until they puff up and turn golden brown. Mmm, that’s when your kitchen will really start to smell amazing.
Cool and Serve
After baking, let them cool a bit in the tin before carefully transferring them to a wire rack. You can serve them warm or at room temp, depending on your vibe… they’re just so good!
Good to Know
- Feeling adventurous? Try adding herbs like thyme or chives for a fresh kick.
- Leftover mini quiches? Store them in an airtight container—great for lunches!
Serving Ideas
- Pair these mini quiches with a refreshing salad or perhaps some fresh fruit for a lovely brunch vibe.
Top Tricks
- If you want a super flaky crust, keep that butter cold and don’t overwork the dough!
Frequently Asked Questions
Can I use a store-bought pastry?
Absolutely! Store-bought pastry is a total time-saver, yet if you’ve got the time, homemade is just… special. The flavor really shines through!
How do I know when the quiche is done?
Look for that lovely golden top! And if a knife inserted into the center comes out clean—voilà, you’re good to go!
Conclusion
So there you have it, mini quiches are such a delightful mix of flavors and textures, perfect for any meal or snack. They’re quick to put together, and you can keep experimenting with all sorts of fillings… it keeps things exciting, you know? Your friends and family will love them, and you might just find yourself making them a regular feature in your kitchen!
More Recipes Suggestions and Combinations
Spinach and Feta Mini Quiches
Combine fresh spinach and creamy feta for a Mediterranean twist.
Smoked Salmon and Cream Cheese Mini Quiches
Elevate these with rich smoked salmon and tangy cream cheese for something luxurious.
Mushroom and Gruyère Mini Quiches
Sautéed mushrooms with nutty Gruyère create a satisfying earthy flavor.
Bacon and Cheese Mini Quiches
Classic combo that everyone adores!
Tomato and Basil Mini Quiches
Fresh tomatoes and aromatic basil are just perfect for summertime gatherings.
Sweet Potato and Goat Cheese Mini Quiches
Sweet potatoes with a tangy goat cheese create a unique flavor profile.
“`