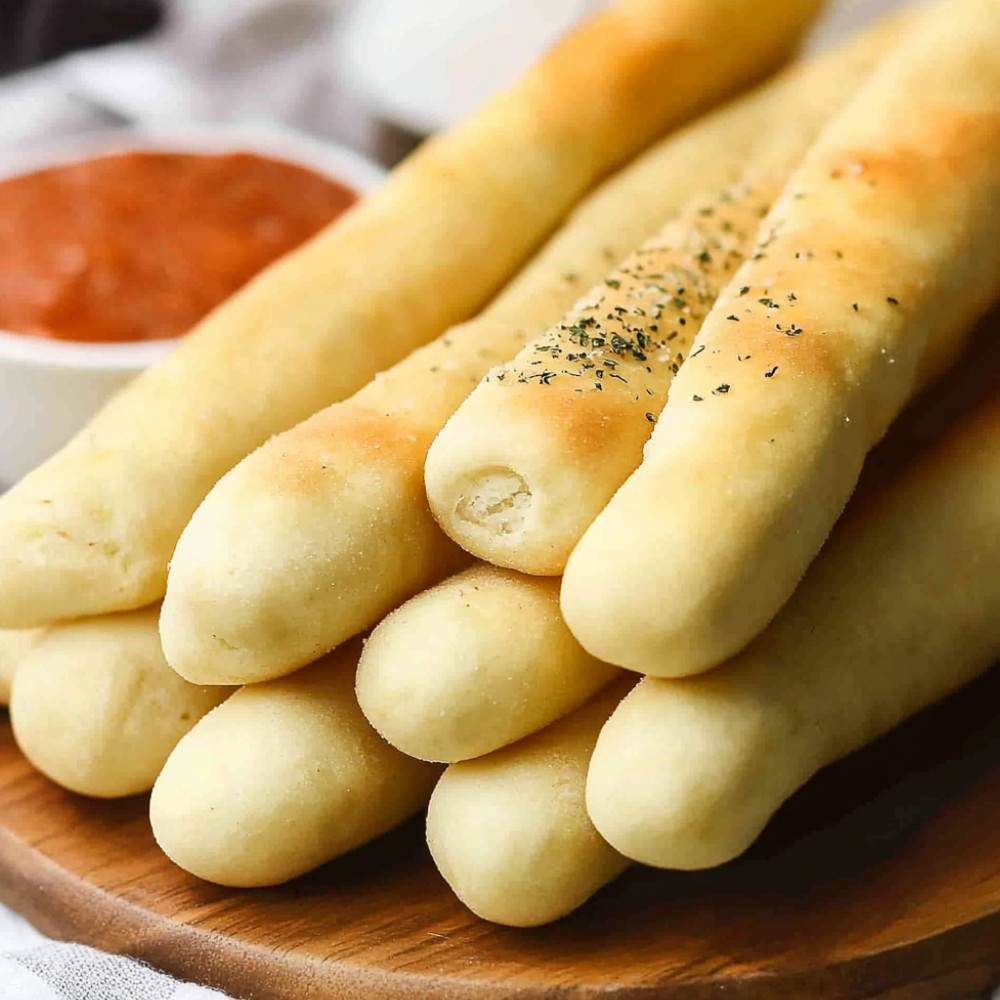
Breadsticks Recipe
They come out of the oven golden at the edges, warm in the middle, and just slightly puffed like they’re happily stretching after a nap. That soft chew, the one that gives just enough resistance before melting into your bite? It’s exactly why I keep coming back to these homemade breadsticks. There’s something plainly comforting about them – humble, fragrant with garlic and butter, and just perfect dipped into a pot of marinara or eaten straight off the tray. Honestly, they rarely survive long enough to see dinner.
Why You’ll Crave It
- Warm, golden, and softly chewy – the kind that makes store-bought ones feel… forgettable.
- You only need a few ingredients, most of which tend to already be in the cupboard.
- They make your whole kitchen smell like love (or like a little trattoria in Tuscany, if that’s the mood).
- A blank canvas for toppings – from garlic butter to cinnamon sugar – so satisfying to personalize.
- Great for dinners but somehow even better stolen cold from the counter before breakfast.
The first time I made these, my little niece insisted they were “magic bread wands” – she still asks for them every time she visits.
What You’ll Need
- All-purpose flour: 2 cups – scoop and level, not packed, for light and tender dough.
- Active dry yeast: 1 packet (that’s 2 1/4 teaspoons) – gives the breadsticks their lovely rise.
- Sugar: 1 tablespoon – just enough to feed the yeast and balance flavor.
- Salt: 1 teaspoon – feel free to use fine sea salt for a cleaner finish.
- Warm water: 3/4 cup, around 110°F – like a gentle bath, not hot, not cool.
- Olive oil: 2 tablespoons – adds richness and softness to the dough.
- Garlic powder: 1 teaspoon – sprinkle after baking for bold, toasty aroma.
- Parmesan cheese: 1/4 cup, finely grated – a sort of savory glitter on top.
Easy How-To
Get the yeast going
In a medium bowl (or the bowl of a stand mixer), mix the warm water, yeast, and sugar. Stir just enough to dissolve a bit, then let it sit untouched for 5-8 minutes until the top looks foamy. That’s the yeast saying hello.
Start the dough
Add in the olive oil, salt, and just one cup of the flour. Stir until smooth – like pancake batter. Then slowly add the second cup, mixing until things turn sticky and rough-looking. That’s good.
Knead it softly
Turn the dough out onto a lightly floured surface. Knead it with the heels of your hands – push, fold, press – until it’s smooth and elastic, about 6-7 minutes. You might add a bit more flour here, just a dusting if needed, to keep it from clinging.
Let it rest and rise
Oil a clean bowl and drop the dough in, turning it once so it gets a bit of oil on all sides. Cover with a tea towel or cling wrap and let it rest somewhere warm-ish for about an hour. It’ll swell up, like a soft pillow.
Shape the sticks
Once the dough is doubled (maybe a little more), punch it lightly to deflate. Divide into 10-12 pieces – doesn’t need to be perfect. Roll each piece gently between your hands or on the counter into ropes about 8 inches long.
Rise again, just briefly
Arrange the sticks on a baking sheet lined with parchment. It’s okay if they’re cozy. Cover loosely and let them rise again, 25–30 minutes. Preheat your oven to 400°F while they fluff back up.
Bake until golden, not too dark
Pop the baking tray in and bake for 12–15 minutes until kissed with gold on the edges. They should smell inviting and look ever so slightly crisp… but soft underneath.
Brush and top
Right after removing from the oven, brush each one with melted butter (don’t hold back). Then sprinkle garlic powder and parmesan generously while still warm – so it clings and melts ever so slightly.
Good to Know
- If your yeast doesn’t foam during that first step, it’s probably past its prime – toss and start fresh.
- You don’t need a mixer, just hands and a little patience – very kitchen-therapeutic.
- They reheat well but honestly… we’ve rarely had leftovers to test that theory deeply.
Serving Ideas
- Dip into marinara, roasted red pepper soup, or a simple olive oil-balsamic swirl.
- Slice horizontally and fill with cheese and tomato for little breadstick sandwiches (very picnic-worthy).
- Serve alongside pasta with a crisp green salad to soak up every bit of sauce left on the plate.
Top Tricks
- Want ultra-soft breadsticks? Cover them lightly with foil for the last 3 minutes of baking.
- Add your toppings (cheese, herbs, whatever you dream) just before baking for max flavor infusion.
Frequently Asked Questions
Can I make the dough ahead of time?
Yes, after the first rise, you can store the dough in the fridge overnight. Let it come to room temp before shaping and carrying on with the recipe.
How thick should I roll them?
Aim for about the thickness of your finger – they’ll puff in the oven, so start a little thinner than the final size you want.
What’s the best way to store leftovers?
Cool them completely, store in an airtight bag or container at room temp for 2 days. Or freeze them – they’ll heat up nicely in the oven at 300°F for about 10 minutes.
Can I make herb breadsticks?
Yes, you can mix dried oregano, thyme, or rosemary right into the dough or sprinkle on top before baking. They smell and taste wonderful.
Are these like Olive Garden breadsticks?
Sort of – soft and buttery, but I think better because you made them yourself, slowly and sweetly, with real love.