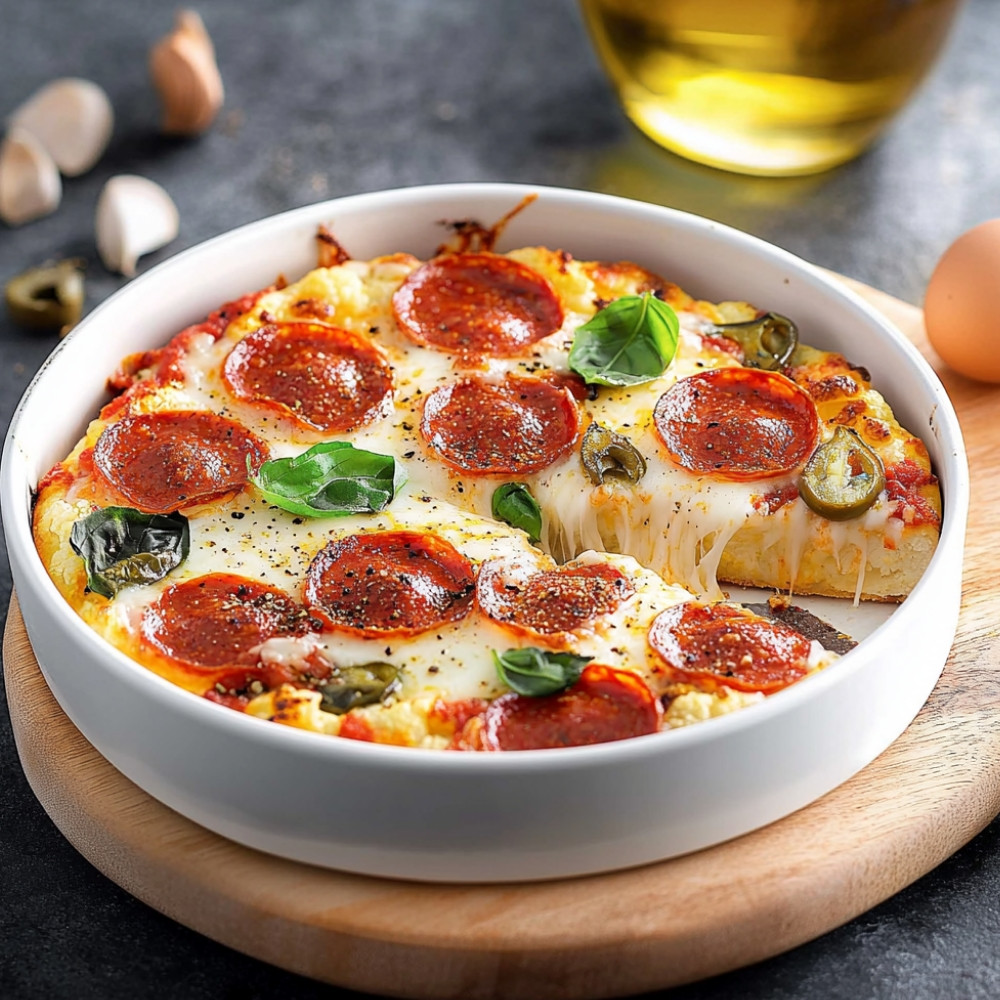
Cauliflower Pizza in Air Fryer
You know those nights when you’re aching for something warm and cheesy, but your body gently reminds you to maybe not do the greasy takeout thing… again? That’s how this cauliflower pizza came to life in my kitchen. The crust – crisp around the edges, tender in the middle – has this slightly nutty aroma after air frying that somehow makes you forget it ever started as a humble vegetable. And the moment you lift that first slice and the cheese stretches just a little too far… well, it tastes indulgent, but still light enough to feel good after.
Why You’ll Crave It
- That golden, crispy crust from the air fryer – it’s honestly better than some regular doughs I’ve tried.
- No flour or fluff, just real ingredients, so it’s naturally gluten-free and low-carb – but you’d never know by taste.
- Makes personal pizzas, which means no fighting over who gets the last slice (unless you want to make it dramatic).
- Versatile enough for anything from classic margherita to wild topping moods – you can really make this yours.
- Saves energy and time – no preheating the whole oven, just your trusty air fryer buzzing along.
The first time I made this, my sister insisted there was actual dough in it. I didn’t tell her the truth until her second piece.
What You’ll Need
- 1 small head of cauliflower: about 2 to 3 cups once riced, trimmed and chopped into florets
- 1 cup shredded mozzarella: I like using low-moisture cheese here – it helps crisp that crust
- ¼ cup grated parmesan: salty, savory, and gives the crust a nice bite
- 1 large egg: beaten, to bind everything together
- 1 tsp Italian seasoning: basil and oregano really shine in this blend
- Salt: just a pinch or two, but taste your mix before baking
- Olive oil: for brushing – it adds that golden crisp on the outside
Easy How-To
Make the cauliflower rice
Start by pulsing the cauliflower florets a few times in your food processor until they look like fine crumbs – not quite snow, but close. Don’t overdo it or you’ll end up with mush. If you don’t have a processor, a hand grater works too (but it’ll take a bit longer – maybe put on music).
Microwave to soften
Transfer the riced cauliflower into a microwave-safe bowl, add about a tablespoon of water, cover loosely (I use a plate as a lid), and microwave for 4 to 5 minutes. It should be soft and steamy. Let it cool down for a few minutes – just enough to handle without burning your palms.
Squeeze out the moisture (really squeeze)
This part feels like a chore but it makes all the difference. Wrap the warm cauliflower in a clean dish towel or cheesecloth, then wring it out over your sink. Keep twisting until barely any liquid comes out, even if your arms complain a bit. If it’s too wet, the crust will steam instead of crisp. Not what we want.
Mix it all together
Now, in a big bowl, mix your dry, cooled cauliflower with the egg, cheeses, herbs, and salt. It should look sticky, kind of like thick wet sand. Not pretty yet, but you’re on the right track.
Form the crust
Lay a piece of parchment paper in the air fryer basket (trim it if needed). Scoop your mixture onto it and press into a round, about half an inch thick. Try not to make the edges too thin or they’ll brown too fast. Brush the top with just a bit of olive oil.
Air fry the base
Pop the basket into your preheated air fryer (200°C or around 390°F). Cook for 10-12 minutes until the edges look golden and it starts to firm up in the center.
Top it how you like
Carefully pull the basket out (the crust will be hot and delicate). Add your toppings – sauce, more cheese, sliced veggies, pepperoni, whatever you’re in the mood for.
Back in the air fryer
Slide it back in for another 5 to 7 minutes, just until everything’s nicely melded together. The cheese should bubble and the crust should feel firm when you lift a corner.
Good to Know
- If your crust feels too soft after the first cook, air fry it a minute or two more before topping to firm it up.
- Yes, squeezing the cauliflower feels endless. But if you skip or rush it, trust me… it’ll turn more like pizza pudding. Not ideal.
- It can smell a bit funky out of the microwave – that’s totally normal. The cheese and seasoning mellow it out nicely later.
Serving Ideas
- Serve with a bright arugula salad tossed in lemon vinaigrette for contrast.
- Cut into quarters and serve as an appetizer with a garlic yogurt dip.
- Try a winter version topped with roasted squash, goat cheese, and sage.
Top Tricks
- Want even crispier edges? After cooking, slide the crust off the parchment and air fry for 1-2 minutes bare at the end.
- Double the crust mix and freeze one for later – it reheats beautifully from frozen in the air fryer.
Frequently Asked Questions
Can I use frozen cauliflower rice instead of fresh?
Yes, absolutely. Just let it thaw completely and squeeze it dry (maybe more than once). Frozen tends to hold more liquid.
What if I don’t have an air fryer?
You can bake it in the oven at 220°C (425°F) for about 15-18 minutes, but the crust may be slightly softer. Still good though.
How do I stop the crust from sticking?
Parchment paper is your best friend for this. Also, don’t skip the olive oil – it helps with both color and release.
Can I make it dairy-free?
Yes – use plant-based cheese substitutes and a flax egg (1 tbsp ground flax + 2.5 tbsp water) to bind. Results vary a bit, but it works!
How do I store leftovers?
Store in an airtight container in the fridge for up to 2 days. Reheat in the air fryer for 3-4 minutes to bring back the crisp.