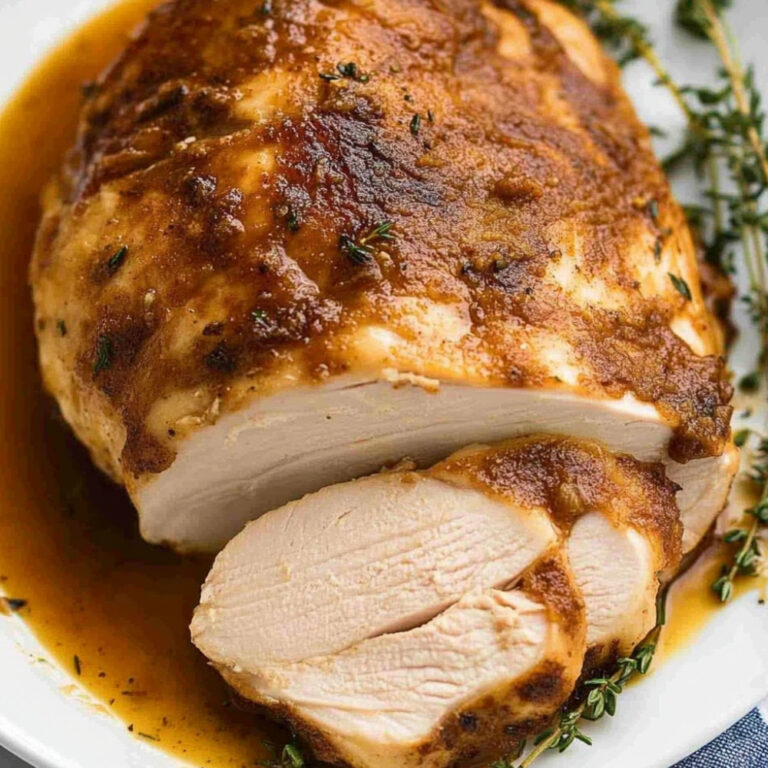
Chicken Kiev
Ah, Chicken Kiev… just saying it makes my mouth water! It’s one of those dishes that, when you take that first bite, you’re greeted by crispy, golden wonders on the outside and this luscious garlic butter that melts into the chicken like, well, a dream. Seriously, the aroma of that herb-infused butter as it seeps out when you cut into it? It’s like being wrapped in a warm culinary hug. This recipe has been around in my family for ages, and it always brings back those cozy dinners where everyone would kind of, um, fight over the last piece. It’s a classic, and I believe it deserves a spot on your dinner table.
Why You’ll Crave It
- Perfect crispy coating—like a little crunchy armor for the tender chicken inside.
- Melty garlic herb butter that oozes out… pure satisfaction.
- Impressive enough for guests, but simple enough for a weeknight meal.
- It’s a cozy reminder of family dinners and happy times, trust me on that.
- Easy to customize! Want to throw in some cheese? Go for it!
My family fights over the last piece every single time, it’s basically a tradition now…
What You’ll Need
- Chicken breasts: 4 pieces, skinless and boneless, perfect for stuffing!
- Butter: 100g, softened, for that rich filling that makes your heart sing.
- Fresh parsley: 2 tablespoons, finely chopped—about the right amount to brighten things up.
- Fresh dill: 1 tablespoon, finely chopped, just a hint of that aromatic flavor.
- Garlic: 2 cloves, minced, because we all need a little garlicky goodness.
- Lemon juice: 1 tablespoon, to add a zing and balance out the richness.
- Salt and black pepper: just a pinch, to taste, or maybe more if you’re feeling bold.
- All-purpose flour: ½ cup, for dredging, because crispy matters!
- Eggs: 2, beaten—this helps that breadcrumb coating stick on nicely.
- Breadcrumbs: 1 cup, for that golden brown crunch!
- Vegetable oil: for frying, just enough to, um, give that beautiful fry.
Easy How-To
Prepare the Chicken
Alright, first things first—you’ll want to get your chicken breasts. Grab a sharp knife and, um, slice through each one horizontally to create a little pocket, but be careful not to go all the way through. We want a nice little space to fill with that buttery goodness. But don’t stress if it’s not perfect, it’ll still taste great!
Make the Garlic Butter
In a bowl, mix together that softened butter, minced garlic, chopped parsley, dill, salt, and pepper. Stir it until it’s all, you know, incorporated nicely… it should smell amazing—like, really amazing.
Fill the Chicken
Next, stuff those chicken pockets with your garlic butter mixture. You can use toothpicks or tie ‘em up with kitchen twine; just do whatever feels right to keep that butter from leaking out while it cooks. We want it all inside… not on the pan!
Prepare the Breading Station
Set up your little assembly line: one dish for flour, another for the beaten eggs, and a third for breadcrumbs. Oh, and don’t forget to season the flour with a bit of salt and pepper… flavor, right?
Coat the Chicken
Dredge each stuffed chicken piece in the flour, shake off the excess, then dip it in the eggs, making sure it’s coated well. Finally, press it into those breadcrumbs, creating a nice layer of crunch! It’s like giving your chicken a cozy little jacket.
Chill the Chicken
Pop the breaded chicken in the fridge for about 30 minutes. This helps the coating stick and, you know, makes frying way easier.
Heat the Oil
In a frying pan, heat some oil over medium heat. You can test it by dropping a tiny piece of breadcrumb in—if it sizzles, you’re good to go!
Cook the Chicken
Carefully place the chicken in the hot oil—don’t overcrowd the pan, or it’ll be a soggy mess. So, fry for about 6-7 minutes on each side, or until it’s golden brown and cooked through. Mouth is watering just thinking about it…
Transfer to an Oven
When golden, transfer your beauties to a baking tray and slip them into a preheated oven for about 10-15 minutes to ensure they’re cooked through and that beautiful garlic butter inside is just melting away.
Let it Rest
Patience is a virtue! Let them rest for a few minutes after baking before digging in. Trust me, this helps keep everything juicy.
Good to Know
- Using fresh herbs makes a world of difference—don’t skimp on them!
- Feel free to make it ahead of time; just pop them in the fridge until you’re ready to fry.
- You can substitute the chicken with turkey for a twist, if that’s more your vibe.
Serving Ideas
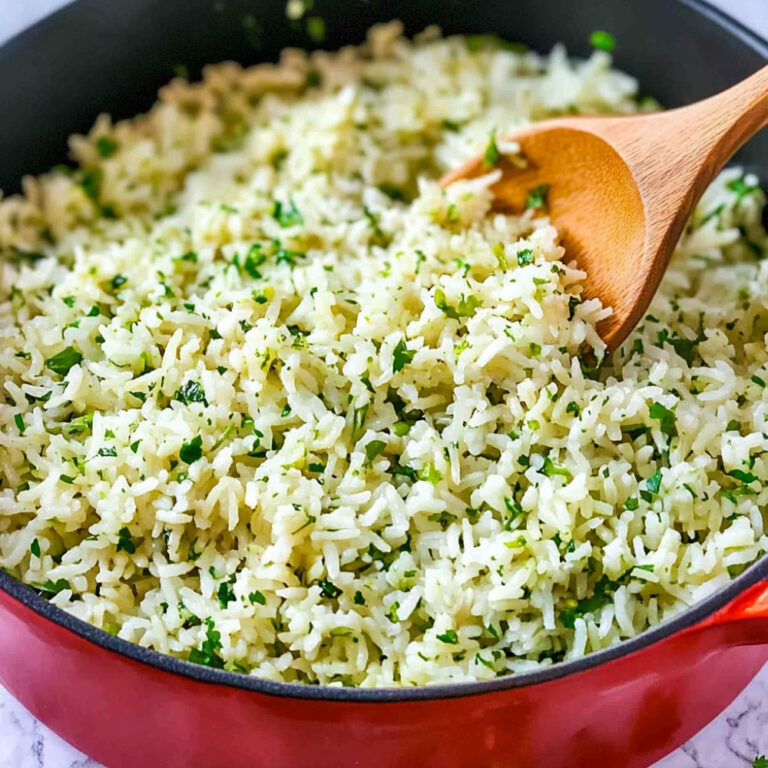
- Serve it up with creamy mashed potatoes or a crisp salad. Perfect combo!
Top Tricks
- Keep an eye on the heat; you want it hot enough to fry but not burning the coating… it’s a fine line!
Frequently Asked Questions
Can I use frozen chicken breasts for this recipe?
It’s best to use thawed chicken breasts for even cooking. Frozen might make it tricky to cook all the way through.
What can I substitute for garlic in the butter?
You could use shallots or even garlic powder, but fair warning—it’ll change the flavor a bit.
How can I make it healthier?
You might try using spray oil instead of deep frying, and maybe whole grain breadcrumbs if that’s your jam.
Can I prepare Chicken Kiev in advance?
Definitely! Just make sure to adjust cooking times if they’ve been in the fridge for a while.
What should I serve with Chicken Kiev?
It pairs nicely with lots of things—think fresh salads, mashed potatoes, or even veggies.
—
Now, if you give this Chicken Kiev a shot, I promise you’ll be over the moon… or at least very cozy in your kitchen. Enjoy every bite!