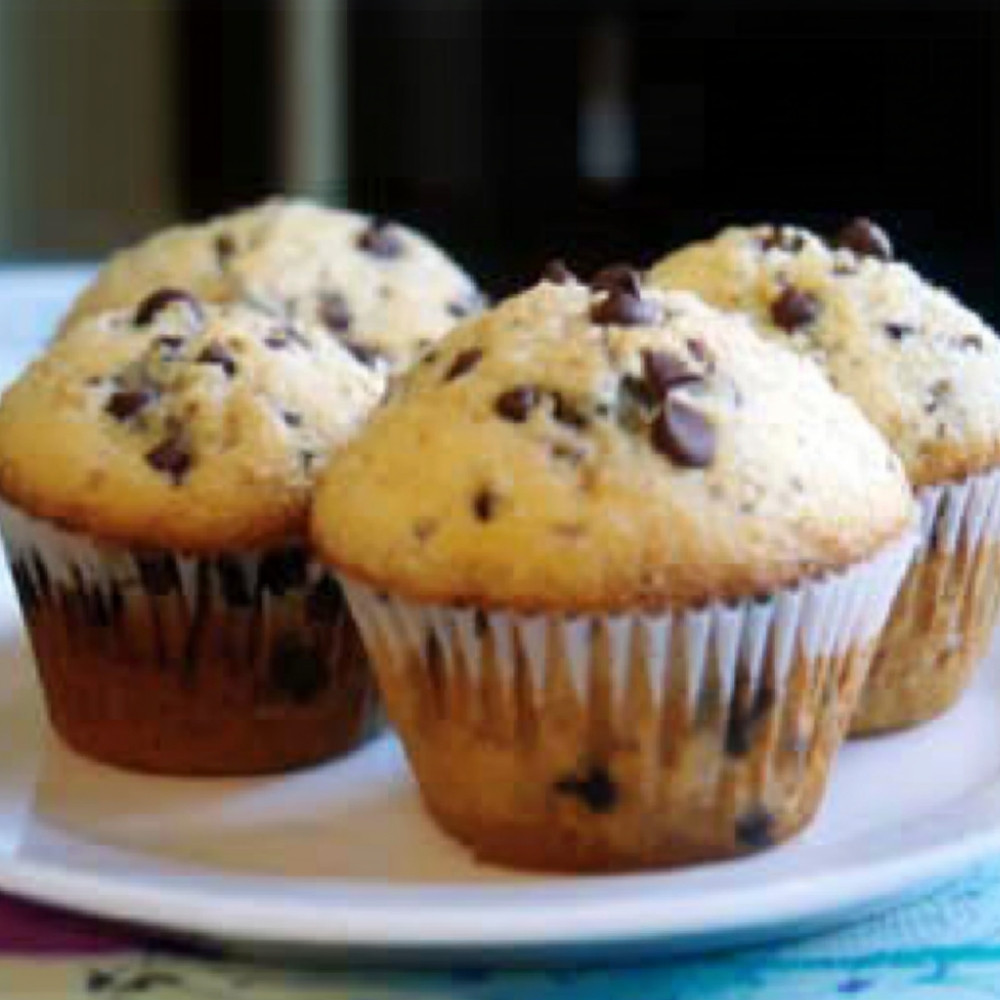
Chocolate Chip Muffins
It always starts with the smell. That soft, warm cloud of vanilla and browned edges drifting through the kitchen — it wraps around you before you even remember what you’re baking. These chocolate chip muffins, honestly, they somehow taste like morning sunlight and old wooden spoons. A little crisp at the top, fluffy inside, pockets of melted chocolate that catch you off guard right when you needed it. I’ve been making these for years, casually and with care — and every time, they still feel like something just a little bit magical.
Why You’ll Crave It
- A golden, lightly crunchy top that gives way to the softest, cloudlike center — it’s the texture that wins you first.
- Packed with real chocolate chips that melt just enough to feel indulgent, but not too much to fall apart — that balance matters.
- The kind of recipe you can memorize after a few tries — no fuss, no fancy stuff.
- Smells so comforting that people start wandering into the kitchen without realizing it.
- Easy to dress up or down — perfect plain, but takes well to a little change (think nuts, spices, citrus zest…)
The first time I made these, I remember sitting at the kitchen counter waiting for them to cool, burning my fingers on one anyway — worth it.
What You’ll Need
- All-purpose flour: 2 cups (250g), the ordinary kind, nothing fancy — sifted if it’s looking clumpy
- Sugar: ¾ cup (150g), just plain white, so the chocolate has room to shine
- Baking powder: 2 teaspoons, fresh if you can, it makes a real difference
- Salt: ½ teaspoon — not too much, but don’t skip it, it pulls everything together
- Eggs: 2 large, room temperature so they blend in better
- Milk: 100ml cold whole milk — creamy but not too rich
- Vegetable oil: 80ml, something neutral like canola or sunflower
- Chocolate chips: 150g — semi-sweet or dark, depending on your mood, stirred in gently
Easy How-To
Get the oven ready and prepare the pan
Start by heating the oven to 180°C (about 350°F). Line a 12-cup muffin tin with paper liners — or if you feel like it, just grease the cups with a little butter or oil. Both work fine.
Whisk the dry stuff
In a big bowl, toss together the flour, baking powder, and salt. Give it a nice mix with a whisk or fork. You want it to look a bit like powdered snow — no lumps hiding, just evenly blended.
In another bowl, bring the wet things together
Crack the eggs into a separate bowl, and beat them gently until smooth. Add the sugar and whisk again – it’ll look pale and foamy. Then pour in the oil and milk, stirring until you get a smooth, creamy mixture. Nothing fancy here – just mix until it comes together.
Combine but don’t overdo it
Pour the wet stuff into your bowl of dry ingredients. Gently fold with a spatula – no aggressive stirring please. It’s okay if the batter looks a little rough or streaky, that’s better than overmixing (which makes them tough).
Add those chocolate chips
Tip in the chocolate chips and fold them through the batter — just a few turns, enough to scatter them evenly without smashing them. Try not to eat too many at this stage, though it’s hard…
Divide and fill
Scoop the batter into the muffin cups, filling each about two-thirds full — just enough room for them to rise and dome without spilling over. I usually eyeball it, and it works out just fine.
Bake with patience
Slide them into the oven and bake for around 20 to 25 minutes. You’ll smell when they’re ready – the tops should be golden and just starting to crack. Test one with a toothpick; if it comes out clean or with a crumb or two, you’re done.
Cool… a little
Let the muffins sit in the tin for about 5 minutes (they finish baking a bit more from the inside), then gently lift them onto a cooling rack. Eat one warm, with your fingers. It’s the best moment.
Good to Know
- If they sink in the middle, you might have overmixed — just tuck that knowledge away for next time.
- A sprinkle of raw sugar on top right before baking gives a delightful crunch — not necessary, but quite lovely.
- Keeps well for about 2–3 days in a container, but if your house is like mine, they rarely last past day one.
Serving Ideas
- With a strong cup of coffee in the morning — or a glass of cold milk in the afternoon
- Split open and slathered with softened butter, maybe even a bit of honey
- Packed into lunchboxes, or a weekend picnic spread (they travel well, and make people smile)
Top Tricks
- Don’t skip preheating your oven – it affects rise more than you’d expect
- Use room temperature eggs and milk if you have time – helps everything mix smoothly
- Try freezing half the batch freshly baked — a quick reheat and they taste like day one again
Frequently Asked Questions
Can I use butter instead of oil?
You can, yes. Melted butter gives a denser, richer taste. I’ve done it many times, especially in winter – but the muffins do come out just a touch less fluffy.
Can I make them gluten-free?
Yes, try a 1:1 gluten-free flour blend. Just keep an eye on the batter — it might be a little thicker and the texture slightly different, but really still very good.
What’s the best chocolate to use?
Use what you love. I switch between semi-sweet chips and chopped dark chocolate bars depending what’s on hand. Bits of chopped chocolate can create those lovely, slightly melty pools inside…
Can I make them mini-sized?
Absolutely. Use a mini muffin tin and reduce baking time to around 12-14 minutes. Great for parties – or little hands.
How can I make them less sweet?
Reduce the sugar by about ¼ cup if you like — or use darker chocolate to balance the sweetness more subtly.