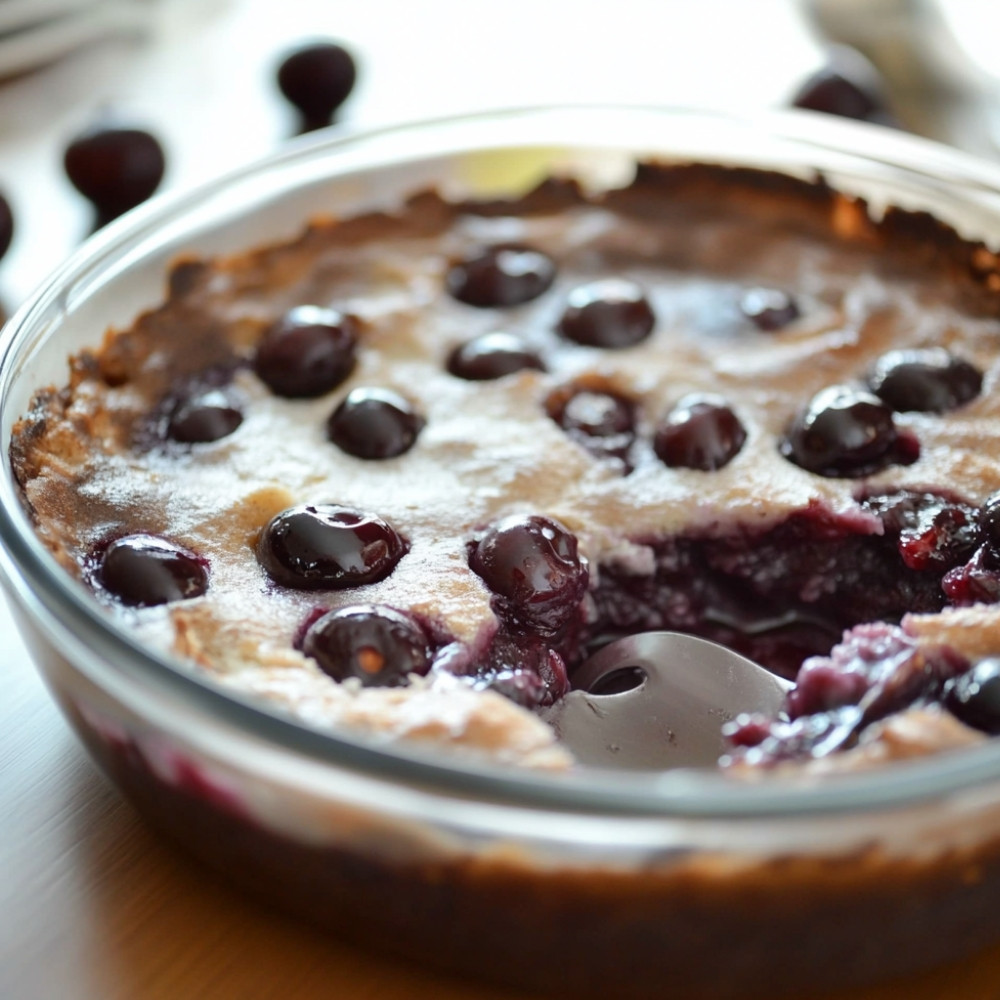
Delicious Cherry Clafoutis: A Simple French Dessert Recipe
Ahh, clafoutis… Just the name makes me smile, you know? It’s one of those desserts that feels special but really, oh so simple to make. Imagine the sweet juiciness of cherries, nestled in a soft, custardy batter that reminds you of sunny picnics and lazy afternoons. This French classic is like a warm hug for your taste buds. And trust me, once you try it, you’ll want to whip up this delightful treat for every gathering—be it a fancy dinner or a cozy night in.
Why You’ll Crave It
- It’s super easy, like, one-bowl easy! Minimal cleanup, yay!
- The flavor of fresh cherries just sings in this—bright, sweet, and juicy!
- Warm or room temp, it’s delicious anyway you serve it. Honestly!
- Perfect for impressing friends or…you know, just treating yourself.
- Versatile! Swap in whatever fruit you love—berries, peaches, or even apples.
My family fights over the last slice every single time I make this!
What You’ll Need
- Cherries: 500 grams, fresh and pitted (or you can use frozen, but trust me, fresh is best!)
- Sugar: 100 grams for that all-important sweetness, I like to use a bit less sometimes if the fruit is super ripe!
- Flour: 100 grams, the backbone of your clafoutis. Just plain ol’ all-purpose works great.
- Eggs: 3 large eggs to give it that lovely custard-y texture.
- Milk: 300 ml, whole milk is nice, but you could go for any kind you have.
- Vanilla extract: 1 teaspoon—adds that warm, sweet aroma we love!
- Butter: for greasing the dish, gotta keep it from sticking!
- Salt: just a pinch, it really brings everything together.
Easy How-To
Let’s Get Started!
First things first, wash your cherries really well and… um, take out those pesky pits. You can use a cherry pitter if you’ve got one, but if you’re like me, you might just slice them in half to get the stones out. Next up, preheat that oven of yours to 180°C (350°F). You want it nice and hot for baking. Then, in a mixing bowl, combine your eggs, sugar, and that little pinch of salt. Whisk it all together until it’s super smooth; we don’t want any lumps getting in the way of perfection. Gradually add the flour, whisking it in slowly, and then pour in the milk, mixing until it’s silky. Now, grease your baking dish with butter—any shape works, round or square, totally up to you. Spread those glorious cherries evenly across the bottom, and now pour that batter over them. It should cover them up nicely! Pop it in the oven and bake for about 35 to 40 minutes. You want it golden on top and set in the middle. And when it’s done? Oh, just let it cool for a bit before slicing. Dust with powdered sugar if you’re feeling fancy!
Good to Know
- If you have leftovers, which, let’s be real, is rare… but if you do, store it in the fridge for a couple of days.
- Don’t be shy about experimenting! Plums or berries can work beautifully, too.
- And if you want to get creative, sprinkle in some orange zest for a citrusy twist.
Serving Ideas
- Serve warm with a scoop of vanilla ice cream… or maybe a dollop of whipped cream—just saying!
Top Tricks
- Wanna make it gluten-free? Just swap regular flour for almond flour—gives it a nutty kick!
Frequently Asked Questions
Can I use frozen cherries for clafoutis?
Sure thing! Just remember to thaw and drain those cherries first to avoid making your batter too soggy. We want it custardy, not a soup!
How can I really make my clafoutis rise better?
Whisk that batter well, and don’t overmix it once you’ve added the flour. Just blend until smooth—those air bubbles are what keeps it light!
Should clafoutis be served warm or cold?
Totally up to you! It’s fabulous warm right out of the oven, but if you like it chilled, that’s super tasty too.
How do I store leftover clafoutis?
Wrap any leftovers in plastic wrap or put them in an airtight container in the fridge. They’ll last a few days, and you can reheat them gently when you’re ready to dig in!
—
So there you have it! This delicious cherry clafoutis is not just a dessert; it feels like a piece of home, a slice of love baked into something sweet. You’re going to keep coming back to this recipe, trust me! Can’t wait for you to try it!