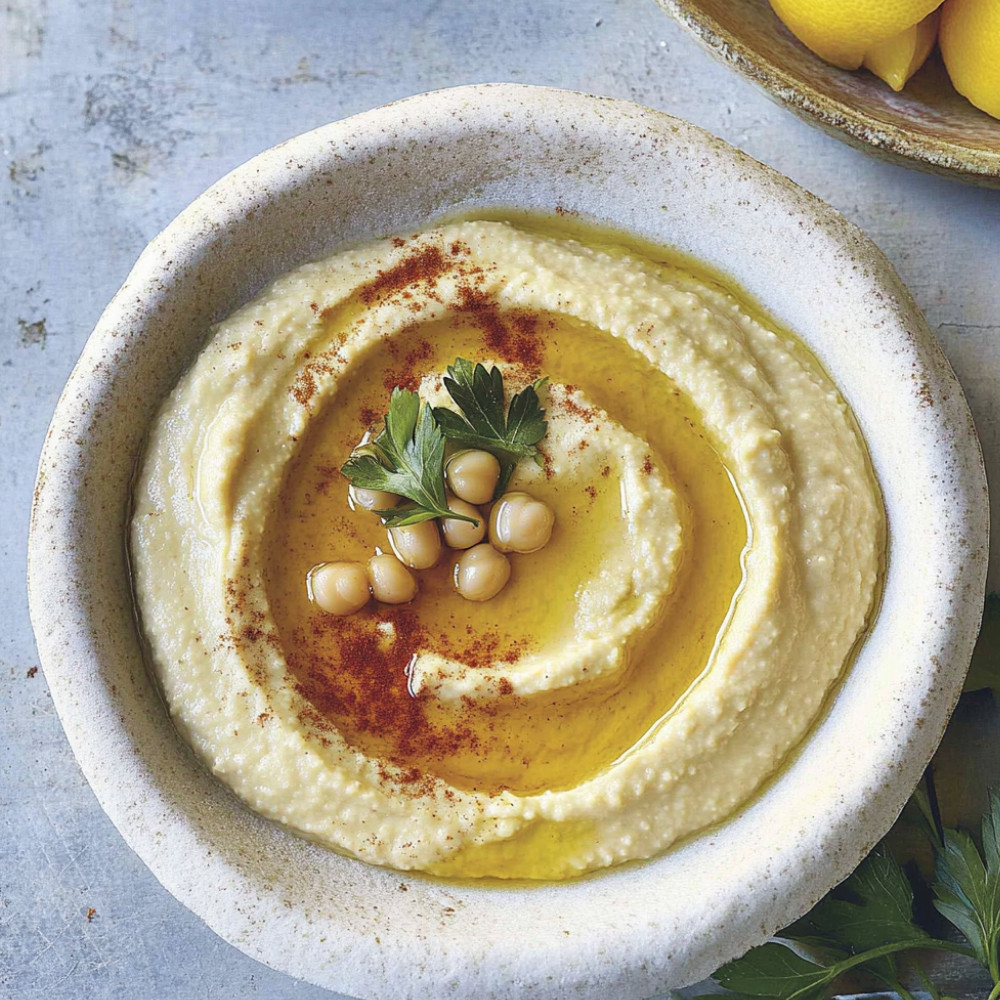
Delicious Homemade Hummus Recipe to Savor Today
Oh, this homemade hummus recipe is just a joy! The first time I tried making hummus at home, I was amazed at how simple it is to whip up such a creamy, flavorful dip. It’s like… magic! You toss a few ingredients into a food processor and, poof, you’ve got this rich, velvety spread that works for snacking, appetizers, or even as a side for dinner. And, oh, the smell of garlic and lemon melding together? Total bliss.
Why You’ll Crave It
- It’s super quick—like, you’ll be munching on it in just 10 minutes!
- Customizable to your heart’s content—add spices, herbs, or whatever you like!
- Healthy and nutrient-packed—the chickpeas are full of protein!
- Perfect for sharing (or not…my family fights over the last bit!), it’s always a hit!
The first time I made this, I almost ate the whole bowl myself!
What You’ll Need
- Chickpeas: 400 g, canned or cooked, rinsed for best flavor
- Tahini: 100 g, creamy goodness for that essential texture
- Garlic: 2 cloves, because we love that punchy flavor
- Lemon juice: 2 tablespoons, fresh is best, trust me!
- Extra virgin olive oil: 2 tablespoons, drizzle in that heart-healthy richness
- Cumin: 1 teaspoon, just a whisper of spice
- Salt: to taste, a little goes a long way
- Water: as needed, to reach that perfect smoothness
Easy How-To
Let’s Get Blending!
Alright, so first things first… gather all your ingredients. You want those chickpeas, tahini, garlic, lemon juice, olive oil, cumin, and salt ready to go. Open the can of chickpeas, drain ’em, and rinse under cold water—buh-bye, canning liquid… we’re after pure flavor here. Then, in your food processor—because, seriously, this is gonna be quick—combine the chickpeas, tahini, garlic, lemon juice, and a lovely drizzle of olive oil. Blend, blend, blend until it all looks… kind of like a paste, but not quite. Add a little water if it feels too thick. Taste it—I mean, that’s essential, right? Add salt and blend again. Smooth and creamy is what we’re aiming for here. If you want it a bit zestier, throw in more lemon juice or garlic. Once you’ve got the flavor just right, transfer it to a bowl. Drizzle some olive oil on top and maybe sprinkle a bit of paprika or fresh herbs for that wow factor!
Good to Know
- Want an extra smooth texture? Consider removing the skins from the chickpeas beforehand… but hey, that’s a bit of extra work.
- You can totally change things up! Toss in roasted red peppers or let your favorite spices shine through.
- Store any leftovers in an airtight container in the fridge and enjoy for up to a week—but good luck with leftovers, I tell ya!
Serving Ideas
- Dunk some warm pita bread, fresh veggie sticks, or crunchy crackers right into the bowl for a perfect snack!
Top Tricks
- A little lemon zest can seriously brighten up the flavor, so don’t skip that if you’re feeling fancy!
Frequently Asked Questions
Can I use canned chickpeas instead of dried?
Yes, absolutely! Canned chickpeas are a total time-saver. Just rinse and drain them before blending—they work wonderfully!
How long does homemade hummus last?
It can chill in the fridge for about a week if stored in an airtight container. But, let’s be honest—it probably won’t last that long…
Can I add other ingredients to the hummus?
Definitely! Get creative—try roasted red peppers for sweetness, or spices like smoked paprika for a kick. The world is your oyster, or hummus, in this case!
Is hummus suitable for a vegan diet?
Yes! This hummus is naturally vegan… made from all plant-based ingredients, so dig in without any worries!
—
Each time I whip up this homemade hummus, I’m reminded of family gatherings where it disappears almost as quickly as it appears! It’s such a warm kitchen memory and now, I hope you create your own delightful moments with this recipe. Whether you keep it classic or mix it up, it becomes a little edible hug every time you scoop it up. Enjoy!