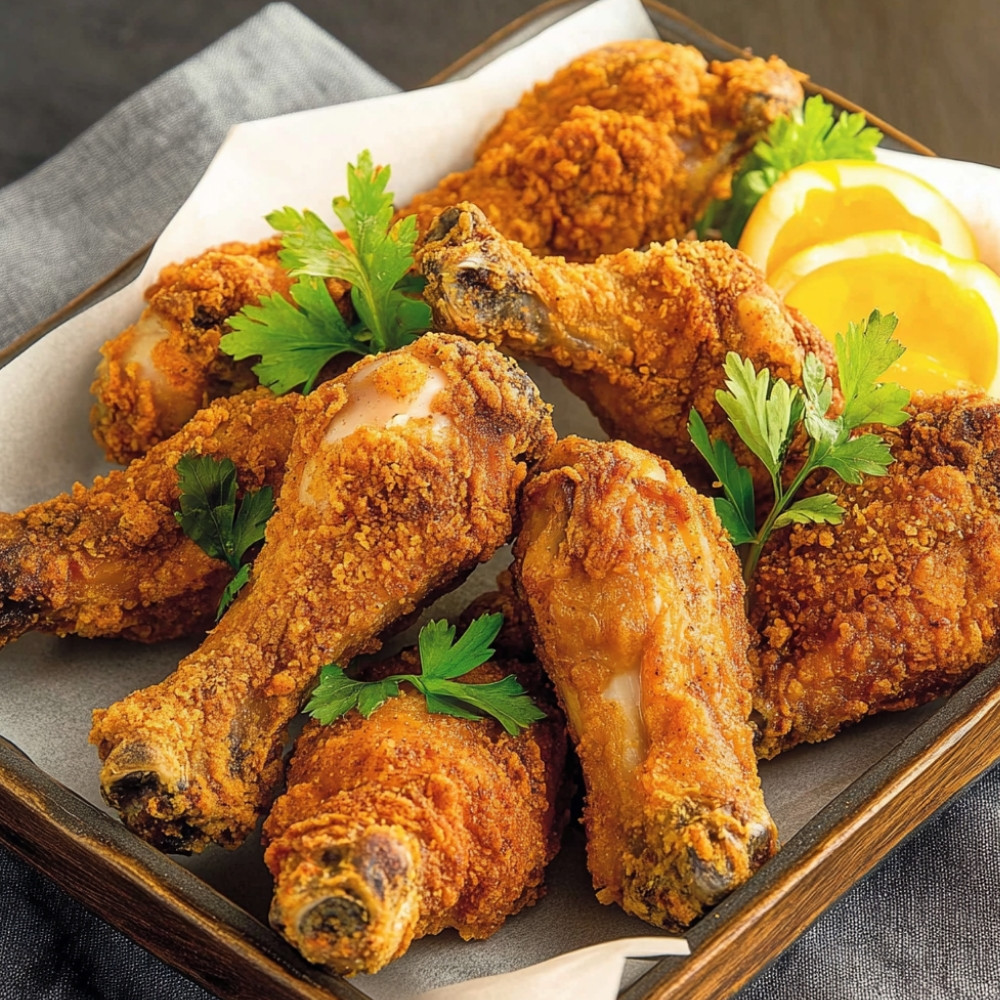
Fried Chicken Drumsticks
Hot oil popping, a tangle of spice lingering in the air – it’s always been like this when I make fried chicken drumsticks. Messy counters, flour handprints on my apron, that anxious little wait during frying… but then, oh, then comes that crunch, like brittle autumn leaves underfoot, and the smell – just a little smoky, garlicky, warm. There’s something very grounding about frying chicken. It’s not fancy food – no – but it’s the kind that pulls people close. And maybe makes them stay longer than they meant to.
Why You’ll Crave It
- Crispy, crackly skin that practically shatters when you bite into it (my favorite part, honestly)
- Juicy, flavorful meat inside – tender enough that you don’t even need a knife
- Uses pantry ingredients you probably already have and doesn’t ask much of you
- Batches well for big family nights or a backyard lunch with just a few friends
- Takes well to little tweaks – a dash more paprika, or a tiny bit of cayenne if you like heat
The first time I made this, I was trying to impress someone (it sort of worked, but the chicken was the real star).
What You’ll Need
- Chicken drumsticks: 8 pieces, bone-in, skin-on, patted dry – always helps that crisping along
- All-purpose flour: 1 cup, just regular flour, nothing fancy – absorbs moisture and sets the crust
- Paprika: 1 tablespoon, for color mostly but also a bit of warmth and earthiness
- Garlic powder: 1 teaspoon – I go heavy-handed some days, I won’t lie
- Fine sea salt: 1 teaspoon, or more if your taste leans salty (mine does)
- Freshly cracked black pepper: ½ teaspoon – roughly, no need to measure too exactly
- Neutral oil for frying: enough to come 1-2 inches up your pot – vegetable or canola both work beautifully
Easy How-To
Prep Your Chicken Drumsticks
Rinse them quickly under running cold water, then take your time with paper towels to really get them dry. Wet skin won’t crisp right (ask me how I know…)
Season with Intention
Mix salt, pepper, garlic powder, and paprika in a small bowl. Rub it all over your drumsticks, getting into creases, the undersides – every bit should get love. This is where the magic starts.
Dust in Flour
Pour your flour into a shallow dish. Coat each drumstick evenly, shaking off the extra – you’re not packing on cement. Just a soft, even coating. Let them rest for five minutes afterward. This is optional, but helps the coating stay put during frying.
Heat Your Oil
In a heavy-bottomed pot or deep pan, heat a generous layer of oil. I use a thermometer because oil is finicky – 350°F (or around 180°C) is your goal. But if you don’t have one, a bread cube dropped in should sizzle and brown in about 60 seconds.
The Frying Bit
Gently (really gently) lower in the drumsticks. Don’t crowd them – they need space to breathe and brown. Fry about 10-12 minutes per side, turning just once if you can help it, until deep golden and crisp. The internal temp should hit 165°F (that’s 75°C) for safety.
Let Them Rest
Lift them out, let them sit on a wire rack over paper towels, if you have one. It stops the dreaded soggy-bottom. Five minutes resting helps the juices settle, too.
Serve & Smile
Serve them warm, possibly with lemon wedges or a bowl of tangy slaw… or nothing at all. They don’t need much.
Good to Know
- If the oil smokes, it’s too hot – take it off the heat for a bit, otherwise the crust’ll burn before the inside’s done
- Leftovers? Reheat in the oven – 180°C for 10 minutes or so. Microwave just ruins them (sorry… it really does)
- If you’re hesitant to deep-fry, use a shallower pan and flip often – still works, just needs more attention
Serving Ideas
- Set them beside classic buttered corn on the cob and a vinegary cucumber salad
- Or go picnic-style – cold drumsticks, potato salad, soft white rolls on the grass
- You could even slice the meat and pile it into sandwiches with spicy mayo and greens
Top Tricks
- Let the seasoned chicken sit at room temp for 20 minutes before frying – it helps it cook evenly and hang onto its coating
- For extra crunch, mix 2 tablespoons of cornstarch into your flour
- Fry in batches. Always. Too many pieces at once lowers your oil temp and soggy chicken makes no one happy
Frequently Asked Questions
Can I make these ahead of time?
Sort of. You can fry them earlier in the day and reheat gently in a hot oven before serving. Not the exact same as fresh, but still very good.
Can I soak the chicken in buttermilk first?
Absolutely – it’ll make it even more tender and flavorful. Just pat them dry well after soaking, before adding flour.
What’s the best flour for coating?
Plain all-purpose flour is perfect. You can mix in a bit of rice flour or cornstarch if you want lighter, crispier results.
Is there a mess-free way to fry?
Not really… but using a Dutch oven helps contain splatter. And wear an apron. Always.