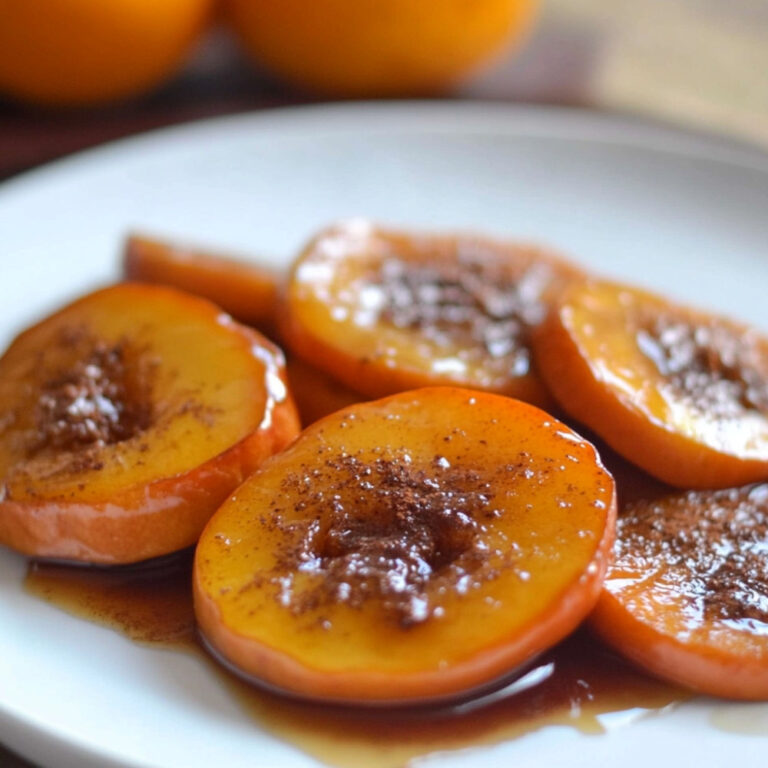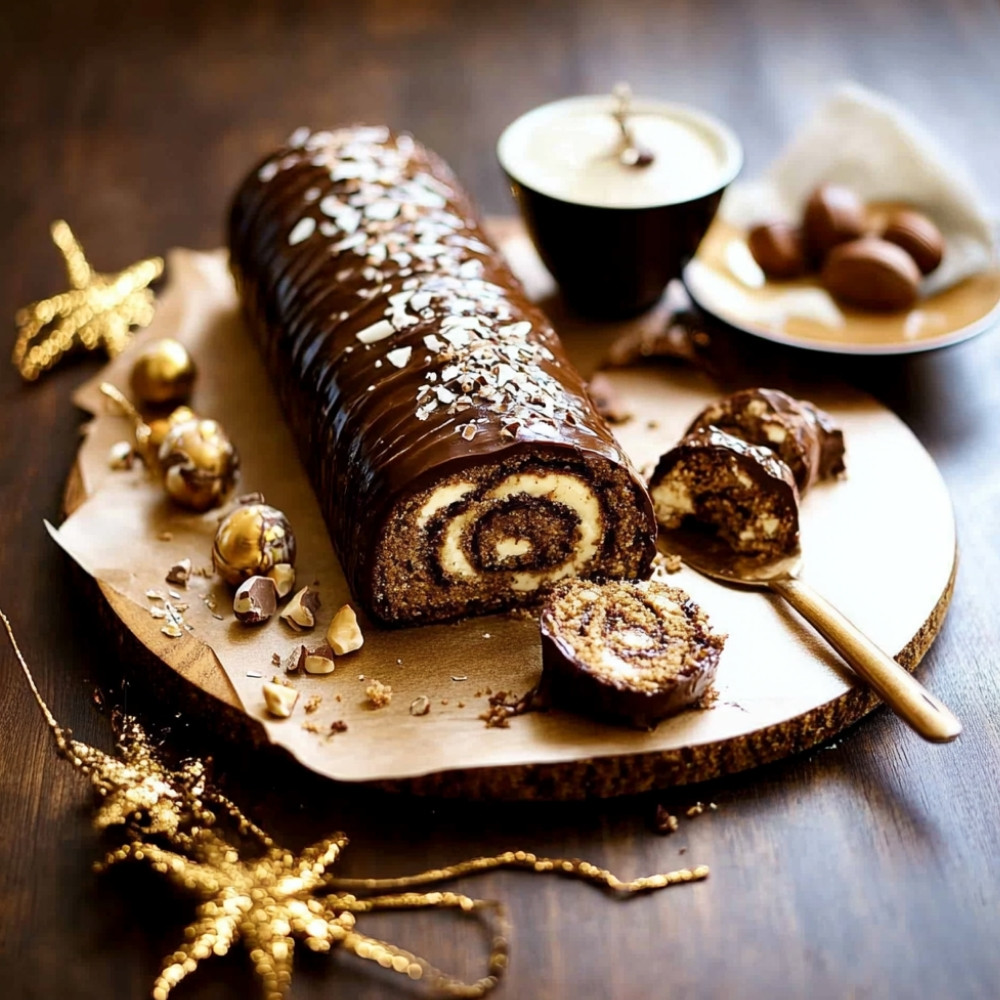
Hazelnut Chocolate Yule Log
Smells like holidays, that thick scent of dark chocolate melting low and slow, the roasted hazelnuts just warm enough to perfume the whole kitchen… you know the one. This chocolate hazelnut yule log, or bûche de Noël if you’re feeling fancy (I usually am around Christmas time), feels like a little gift in dessert form. It’s soft sponge rolled up with whipped hazelnut cream, glossed in a silky dark glaze, with just enough crunch scattered on top to keep things interesting. Making it takes a bit of patience, yes – but it’s joyful work. Messy, even – crumbs everywhere, little bits of ganache smudged into my sleeves – but that’s kind of the magic of it.
Why You’ll Crave It
- Deep, not-too-sweet chocolate flavor that feels grown-up but still comforting
- Light, creamy hazelnut filling that melts on your tongue (and refuses to be forgotten)
- Gorgeous presentation that looks far harder than it really is (secret bonus)
- Make-ahead friendly – the flavors mellow and meld after chilling overnight
- Perfect excuse to dust everything with cocoa and pretend it’s snow
The first time I made this was for a December dinner with friends – it snowed that night, the heavy kind that glows under streetlamps, and we lit candles and passed slices of cake until very late.
What You’ll Need
- Dark chocolate: 200g of the good kind – 70% cocoa if you can find it, chopped small to melt evenly
- Heavy cream: 200ml, kept cold until whipping – it thickens better that way
- Icing sugar: 100g, sifted if only to avoid those stubborn little clumps
- Egg yolks: 4, room temperature – they blend more smoothly
- Hazelnut paste: 150g, rich and slightly toasty (or Nutella, in a pinch, if traditions can bend)
- Butter: 150g, unsalted and softened – not melty, just spreadable
- Flour: 100g plain flour, lightly spooned into the cup and leveled
- Baking powder: 1 teaspoon, for a bit of lift
- Cocoa powder: 30g, unsweetened, deeply dark works best here
- Vanilla extract: 1 teaspoon, not strictly necessary but I can’t help myself
- Salt: Just a pinch, to nudge the sweetness into balance
Easy How-To
Get the oven ready and your mood right
Set the oven to 180°C (or 350°F), then take a minute to prep – line a baking tray with parchment and maybe play something soft, wintery. Something with strings.
Melt the chocolate
Warm the chocolate gently in a bain-marie (or heatproof bowl over a simmering pot). Stir slowly and breathe in that scent… once it’s glossy and smooth, take it off the heat and let it cool a bit. Not cold, just not piping hot.
Make the sponge
Separate 4 eggs – but you’ll only need the yolks here. Beat them with icing sugar until pale and thick. Stir in your cooled chocolate, butter, vanilla. Then whisk the dry stuff (flour, cocoa, baking powder, salt) in a separate bowl and fold it in, gently. Try not to overwork it – air’s your friend in sponge-making.
Bake it flat
Pour the batter onto your lined tray, spreading it into an even layer (roughly 1cm thick). Pop it in the oven and bake for about 10-12 minutes. It should spring back when tapped – that’s how you know it’s done.
Cool and prep for rolling
Place a clean tea towel on your counter, sprinkle it generously with cocoa powder. Flip the sponge out onto it (gently, but don’t worry if it cracks a bit). Peel the parchment off, then roll the cake up with the towel from short edge to short edge. Let it cool like this – trust me – it helps it remember the shape later.
Whip the cream and blend the filling
Whisk your cold cream until soft peaks form. In another bowl, stir the hazelnut paste with a spoonful or two of that whipped cream to loosen it. Then, fold the rest in gently, trying to keep things light and smooth.
Unroll and fill
Once cooled, carefully unroll the sponge. Spread the hazelnut cream across, not too close to the edges. Reroll, nice and snug, using the towel to guide it. Wrap it up in cling film or parchment and chill it – at least a couple hours, or overnight.
Glaze and decorate
Melt the remaining chocolate with a little butter if needed (a dash of cream also helps for shine). Let it cool slightly, then pour over the chilled log, smoothing it gently. Use a fork to create bark-like lines if you’d like. Sprinkle chopped hazelnuts on top or grate some more chocolate… make it pretty in your own way.
Good to Know
- If your sponge cracks while rolling – that’s okay, honestly. The glaze hides almost everything.
- I always keep a damp cloth nearby when working with chocolate… saves chasing smudges later.
- If your whipped cream turns buttery (it happens), just start over, no shame in it.
Serving Ideas
- Dust each slice with a little cocoa and serve with a spoonful of whipped cream or a drizzle of coffee liqueur if it’s been that kind of year.
Top Tricks
- Roll the sponge while it’s still warm – not hot, not cold – or it stiffens too much and becomes stubborn.
Frequently Asked Questions
Can I use milk chocolate instead of dark?
Of course, though keep in mind it will be sweeter and a bit softer in flavor – lovely, just different. You might want to reduce the sugar slightly in the cream.
How far in advance can I make the yule log?
You can make it 2-3 days ahead and keep it chilled. Actually, I think it’s even better the second day – the flavors settle and mellow beautifully.
Can I freeze it?
Yes, though skip the glaze if freezing – apply that after thawing. Wrap tightly, freeze for up to a month, and defrost gently in the fridge overnight.
Can I make this gluten-free?
Yes – swap the flour for a reliable gluten-free blend and perhaps add a touch of xanthan gum, if your mix doesn’t already include it.