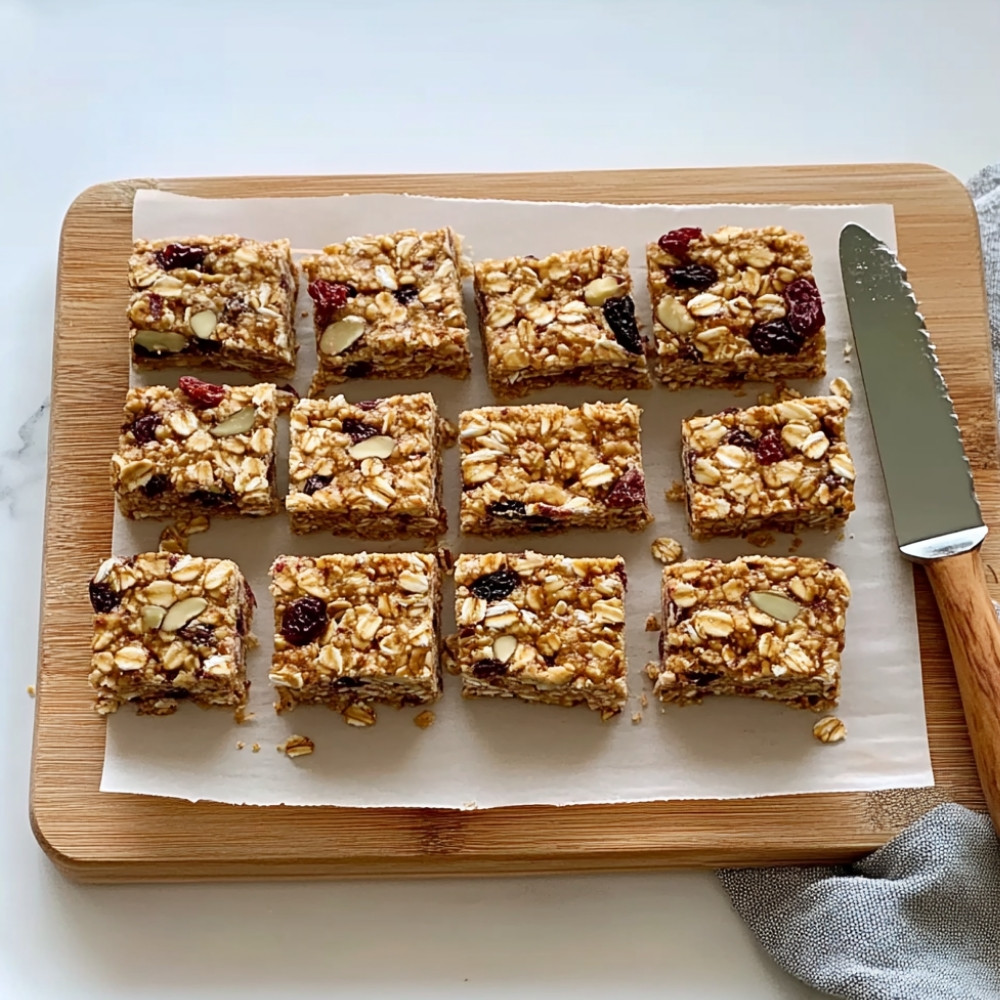
Homemade Granola Bars
It hits somewhere in the afternoon, that kind of hunger that’s not sharp, not loud, but just… there. Sneaky and low in your belly, asking for something real – not a bag of something or a crumbly cookie from the tin. That’s when I find myself reaching for these homemade granola bars. They’re soft in the center, a just-right sort of chewy, with little bursts of crunch and a whiff of toasted oats that smells like my grandmother’s Sunday kitchen. They’re humble, sweet, honest – and comforting in a way store-bought could never quite mimic.
Why You’ll Crave It
- Just the right balance of gooey and crisp – not sticky, not too soft, just satisfying through and through
- Totally customizable – a clean-out-the-pantry kind of recipe if you’re the creative snacker type
- No weird preservatives, just ingredients you can identify and pronounce
- Perfect for on-the-go mornings or those midafternoon dips (you know the ones)
- Makes your kitchen smell like toasted oats and sunshine while it bakes
The first time I made this recipe, I remember standing over the counter with a spoon, stealing bites before it even hit the pan – I couldn’t stop.
What You’ll Need
- Rolled oats: 2 cups of the hearty kind – not quick-cook – for the best texture
- Nuts: 1 cup chopped almonds or walnuts (or whatever’s left in the jar), roughly chopped
- Honey or maple syrup: 1/2 cup – this brings the chew and the sweet
- Nut butter: 1/2 cup creamy peanut or almond butter, the better the flavor, the better the bar
- Dried fruit: 1 cup chopped raisins, tart cranberries, or even little apricot bits for brightness
- Chocolate chips (optional): 1/2 cup, but honestly… why wouldn’t you?
- Salt: 1/4 teaspoon, just enough to wake up the flavors
- Vanilla extract: 1 teaspoon, warm and fragrant, makes everything taste more like home
Easy How-To
Warm the Oven and Line Things Up
Start by preheating to 350°F (175°C) and line an 8×8 inch pan with parchment. Leave some overhang – it’ll make it easier to lift the bars out later (you’ll thank yourself).
Toss the Dry Stuff
In your biggest mixing bowl, stir together oats, chopped nuts, and salt. You want everything mingling before the syrupy things go in.
Melt and Mix the Sticky Bits
In another bowl (or small saucepan if your nut butter’s thick), mix your honey or syrup, nut butter, and vanilla. If it’s too firm, warm it up so everything blends smooth. It should pour like a thick ribbon.
Bring It All Together
Now pour the warm mixture over the oats bowl. Go slow and stir well – every oat should get a good coating, no stragglers.
Add the Goodies
Once it’s all evenly sticky, gently fold in the dried fruit… and chocolate chips if you’re including them. If the mix’s too hot, wait a minute so the chips don’t melt—unless that’s the look you’re going for, in which case, stir away.
Press and Pack
Transfer to your prepared pan and use a spatula (or your hands with parchment on top) to press it down firmly. Really pack it tight – it helps the bars hold together later.
Bake It Up
Pop into the oven for 20-25 minutes, just until the edges are golden and the whole thing smells like toasted heaven. Don’t overbake – they’ll firm up as they cool.
Cool… and Wait (Just a Bit)
Let the pan cool for at least 10 mins, then lift the bars out by the parchment edges and place on a cutting board. Let it cool completely before slicing into 12ish bars. Not to rush you, but… don’t skip this step.
Good to Know
- If your mix looks dry, try adding an extra spoonful of nut butter or a quick drizzle of syrup – it should stick together when pressed
- I’ve burned my tongue more times than I care to admit slicing these too warm – they smell amazing, but be patient
- For crunchier bars, bake just 5 minutes longer – but they won’t be as chewy. I sort of like them soft myself
Serving Ideas
- Wrap them in wax paper for lunchbox surprises or post-hike fuel
- Warm one slightly and crumble it over Greek yogurt with a drizzle of honey
- Pair with coffee on a slow morning – makes breakfast feel thoughtful, even if it’s rushed
Top Tricks
- Use a metal measuring cup to press the mixture down – its smooth bottom really helps compact everything
- If you’re doubling the recipe (which I do often), use a 9×13 pan and check baking time at 25 minutes
Frequently Asked Questions
Can I make these homemade granola bars vegan?
Yes – maple syrup or agave are great substitutes for honey. Just keep the texture in mind; sweetener helps with stickiness.
Why are my bars too crumbly?
It usually means not enough binding – try adding a splash more syrup or an extra scoop of nut butter next time. Pressing it really down in the pan also helps.
How do I store these?
Once cooled and cut, store them in an airtight tin or container, layered with parchment if they’re a bit sticky. They last several days at room temp or longer if chilled.
Can I skip the chocolate chips?
Of course – they’re optional (but delightful). Try toasted coconut flakes or pumpkin seeds for a twist.
How long do they stay fresh?
At room temperature, about a week – maybe more if your kitchen’s cool. In the fridge, up to two weeks easily.