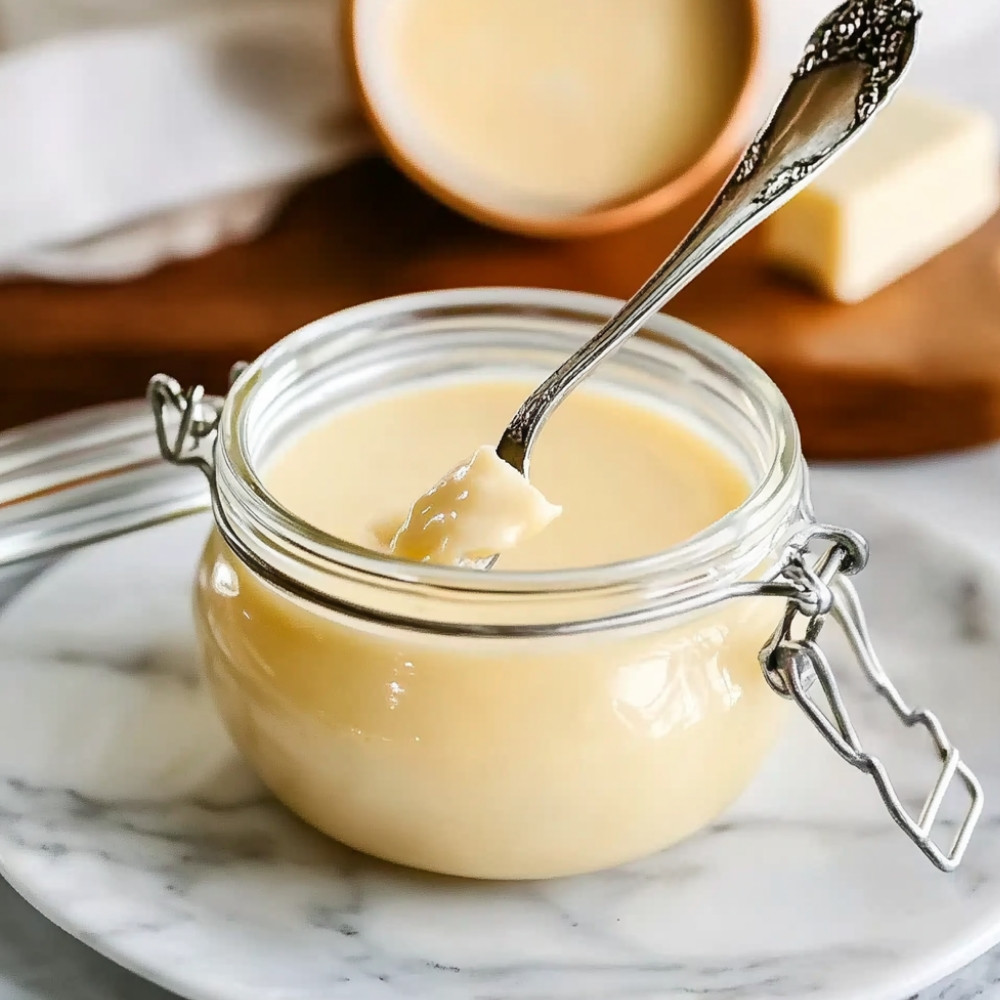
Homemade Sweetened Condensed Milk
it smelled like caramel meeting warm milk – soft and kind of cozy – when I made my first batch of homemade sweetened condensed milk. Not sharp like the canned kind, but gentle. The steam curled up a little slow like it didn’t want to leave the pot… and it felt, oddly, like I was making something from a slower time. Something sweet you’d spoon from a jar at someone’s grandmother’s house. The only surprise was how easy it was. So few ingredients, and yet it changes everything it touches – pies, coffee, ice cream, you name it.
Why You’ll Crave It
- Just 4 simple ingredients – no preservatives, nothing strange
- Tastes softer and creamier than anything from a can (honestly, it’s dreamy)
- You can tweak the sweetness and even the texture if you like
- Works beautifully in desserts, coffee, or even just drizzled on fresh fruit
- It’s strangely soothing to make – something about the stirring, the scent
The first time I made this, I stirred it almost the whole time because I didn’t trust the simmer… now it’s my way to unwind after a long day.
What You’ll Need
- Whole milk: 2 cups – cold, creamy, fresh if you can
- Granulated sugar: 2/3 cup – plain white works best here, since it melts so cleanly
- Unsalted butter: 4 tablespoons – cut into small cubes so it melts in smoothly
- Vanilla extract: 1 teaspoon – added at the end for a soft perfume of flavor
Easy How-To
Start the mix
Add the milk and sugar into a medium saucepan. Stir a bit just to get the sugar moving – it should look soft and a little milky-sparkly before you heat it.
Begin the gentle heating
Set it over medium heat. Not high. You don’t want it rushing. Stir now and then so it doesn’t catch (you’ll start to feel the sugar dissolve fairly quickly).
Let it simmer low
Once it starts steaming, bring the heat down to low. True simmer, not a boil. You want it reducing slowly, calmly – like letting time thicken a memory… not rushing it. Stir every few minutes with something wooden or silicone. Watch that it doesn’t bubble too much too fast.
Add the butter and watch it thicken
After about 15 minutes of simmering, toss in the butter (carefully, it still splatters now and then). Keep simmering, gently stirring so the edges don’t go sticky. By the 30-minute mark, it’ll be more golden, glossy, and noticeably thicker – not gloopy, just slowly syrupy. It’ll thicken more as it cools, so stop short of what you think is fully thick.
Take it off the heat and finish with vanilla
Remove from the heat. Wait a moment, then stir in your vanilla (if you add it earlier, the heat will mute it). Let it cool for a bit before pouring into a jar or bowl. It will go from pourable to spoonable as it chills.
Good to Know
- I always keep a spoon nearby because something about warm, fresh condensed milk… it’s hard not to taste it more than once
- If it looks too thin at 30 minutes, give it five more – but keep watching, it thickens in a blink right at the end
- You might see little caramel flecks near the end – that’s okay, just tiny signs of toasting (don’t worry unless it smells burned)
Serving Ideas
- Pour over sliced strawberries or peaches with a sprinkle of sea salt – ridiculously good
- Stir into strong coffee for a sweet creamy blend (like Vietnamese coffee, but smoother)
- Use in cakes or pie fillings for a richer, milkier flavor
- Blend into homemade no-churn ice cream with whipped cream and whatever flavors you like
Top Tricks
- Don’t walk away for too long – even five minutes can take it from golden to burnt if the heat’s not low enough
- If you like a hint of saltiness, use salted butter instead or finish with a pinch of flaky sea salt
- Try a drizzle of maple or almond extract instead of vanilla if you’re using it in special desserts
Frequently Asked Questions
Can I use non-dairy milk for this recipe?
You can, but results vary. Coconut milk works best for this – it’s rich and thick and handles simmering better than almond or soy. It’ll taste tropical, which can be lovely in certain desserts (especially chocolate or lime-based ones).
How long will homemade sweetened condensed milk keep?
It’ll be good for about 1 to 2 weeks in the fridge, sealed tight. You can also freeze it – I freeze small portions in ice cube trays, then pop them into bags. That way, I just take out what I need.
Can I reduce the sugar?
A little, yes – try cutting it by up to a quarter. But keep in mind, the sugar doesn’t just sweeten, it also helps the mixture thicken and preserve.
What’s the best way to use it in coffee?
Spoon in about 1 to 2 tablespoons into hot coffee and stir well – no cream or sugar needed. For iced coffee, swirl it in while the coffee is still a bit warm so it dissolves easily.
Mine got a little grainy – what happened?
That can happen if the heat was too high or if it cooked too long. Don’t worry – blend it briefly or strain through a fine sieve. It’ll still taste lovely.