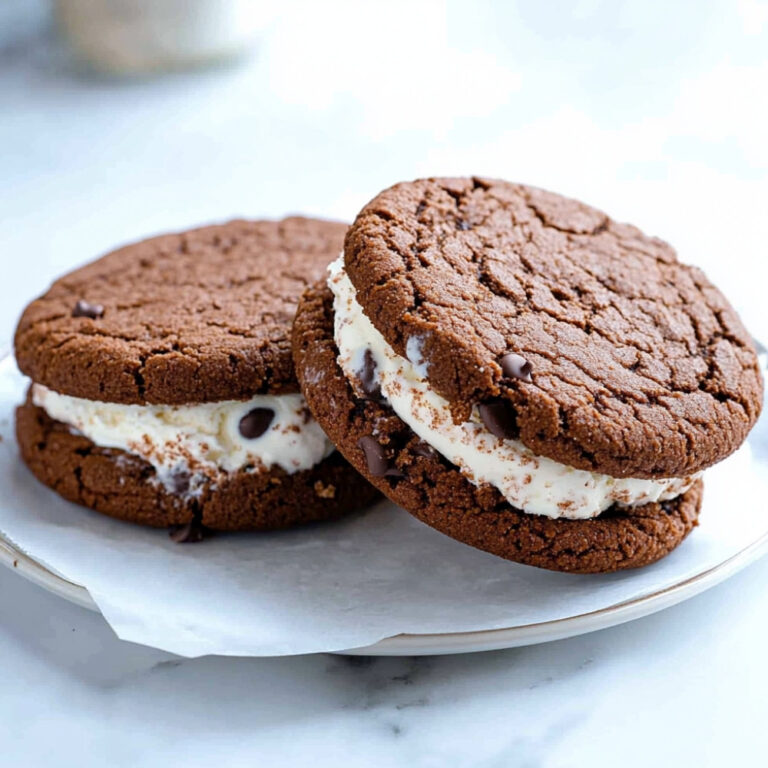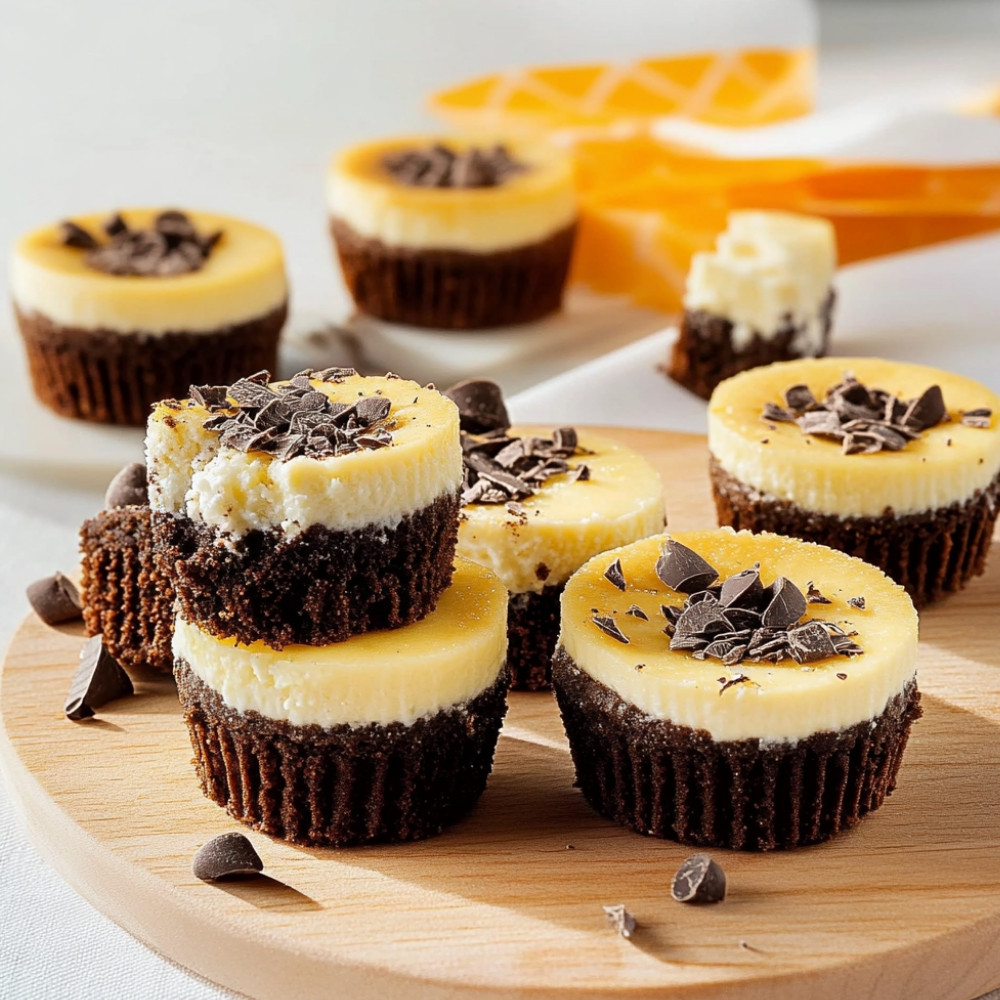
Mini Cheesecakes with Chocolate Crust
They’re tiny, yes – but packed, truly packed, with that creamy-dense cheesecake comfort and this little crunch of bittersweet chocolate underneath that always surprises me. You bite in and the crust *snaps*, just slightly, not loud, and the filling is soft like… well, like afternoon sunlight through a sheer curtain. Warm, quiet joy. That’s what these mini cheesecakes with a chocolate cookie crust bring into the kitchen. I’ve made them so many times I know the bowl by the way the batter folds in it. And somehow, they still feel like a little celebration – just right for a quiet night with tea or a crowd that drifts toward dessert without ceremony.
Why You’ll Crave It
- Each bite is like a tiny promise of creamy satisfaction – no fork necessary.
- The chocolate crust adds just the right touch of bittersweet to balance the sweetness.
- Perfect make-aheads – they chill beautifully and somehow taste better the next day.
- Elegant enough for a party, easy enough for a Wednesday evening.
- You’ll only need a handful of pantry basics – no fuss, no fancy technique.
The first time I made this was for my sister’s birthday – she said it tasted like something from a patisserie, but better, because it somehow felt… homier.
What You’ll Need
- Cream cheese: 250 grams – full-fat, room temperature is key for smooth blending
- Sugar: 80 grams – not too much, just enough sweetness without overpowering
- Vanilla extract: 1 teaspoon – real vanilla makes a world of difference
- Egg: 1 large – adds richness and helps the filling set
- Chocolate cookies: 150 grams – chocolate digestives or Oreos (without the filling) are both good choices
- Butter: 50 grams, melted – this binds the crust nicely and adds depth
- Lemon juice: Just a squeeze – totally optional but it adds brightness that lifts the whole bite
Easy How-To
Smash the cookies
Start with the crust. Toss your chocolate cookies into a food processor and blitz until fine crumbs – or just pop them in a zip-top bag and smash them with a rolling pin. It’s slightly messy, a bit fun, and incredibly satisfying.
Melt and mix
Pour in the melted butter and stir with a fork until it’s like damp sand. Everything should cling slightly when you pinch it. No dry spots.
Press into tins
Spoon the crust mixture into a lined muffin tin or mini tart pans – press firmly with the back of a spoon or your fingers. You want it compact so it doesn’t crumble later. Pop the tray into the fridge while you deal with the filling.
Blend the filling
In a mixing bowl, beat the room-temperature cream cheese until smooth. Then add the sugar and vanilla – just mix until combined, don’t overbeat. Add the egg last. Mix slowly, just enough to bring it all together. If it feels right, a tiny squeeze of lemon juice here adds such a nice brightness.
Fill and smooth
Pull out the crusts, now nicely chilled and firm. Fill each one with about two tablespoons of filling – a little dome is fine. Smooth the tops gently with a spoon.
Bake… calmly
In a preheated oven at 160°C (320°F), bake for about 22-25 minutes. You’re looking for set edges and a center that still jiggles slightly. Watch them – every oven’s a little different. They shouldn’t brown on top.
Cool it down
Let them cool in the tin for about 20 minutes first. Then transfer to the fridge for at least 2 hours – though they’re really best after 4 or more. A nap in the fridge does them good.
Dress them up (or not)
Top them with berries, a drizzle of dark chocolate, or just leave them plain. Honestly, they shine with or without a garnish. I usually leave a few unadorned… simplicity suits them.
Good to Know
- If you rush the chilling, they’ll still taste good – but they won’t hold their shape as nicely. Patience is a flavor here.
- Sometimes I use cupcake liners, but if I forget (which happens), buttering the tin well usually does the trick.
- Your cream cheese must be at room temp – cold cream cheese gets lumpy, and no one wants lumpy cheesecake.
Serving Ideas
- Perfect with espresso after dinner – or tucked into a lunchbox for a weekday treat.
Top Tricks
- To lift them out without damage, use a little buttered parchment “sling” for each muffin cup – or simply use silicone molds, which basically pop them out for you.
Frequently Asked Questions
Can I make these ahead?
Yes – they keep well in the fridge for up to five days. In fact, they’re better chilled overnight.
Can I use low-fat cream cheese?
Technically, yes – but they won’t be as rich or smooth. I prefer full-fat for that classic cheesecake feel.
They cracked – what went wrong?
Most likely, they were either overbaked or cooled too fast. Try turning the oven off and letting them sit with the door ajar for 10 minutes before taking them out.
Can I freeze them?
Definitely. Freeze them individually, then store in a container. They thaw beautifully in the fridge overnight.
What’s a quick garnish if I’m short on time?
A dust of cocoa powder or powdered sugar – or one single raspberry on top. Striking and simple.