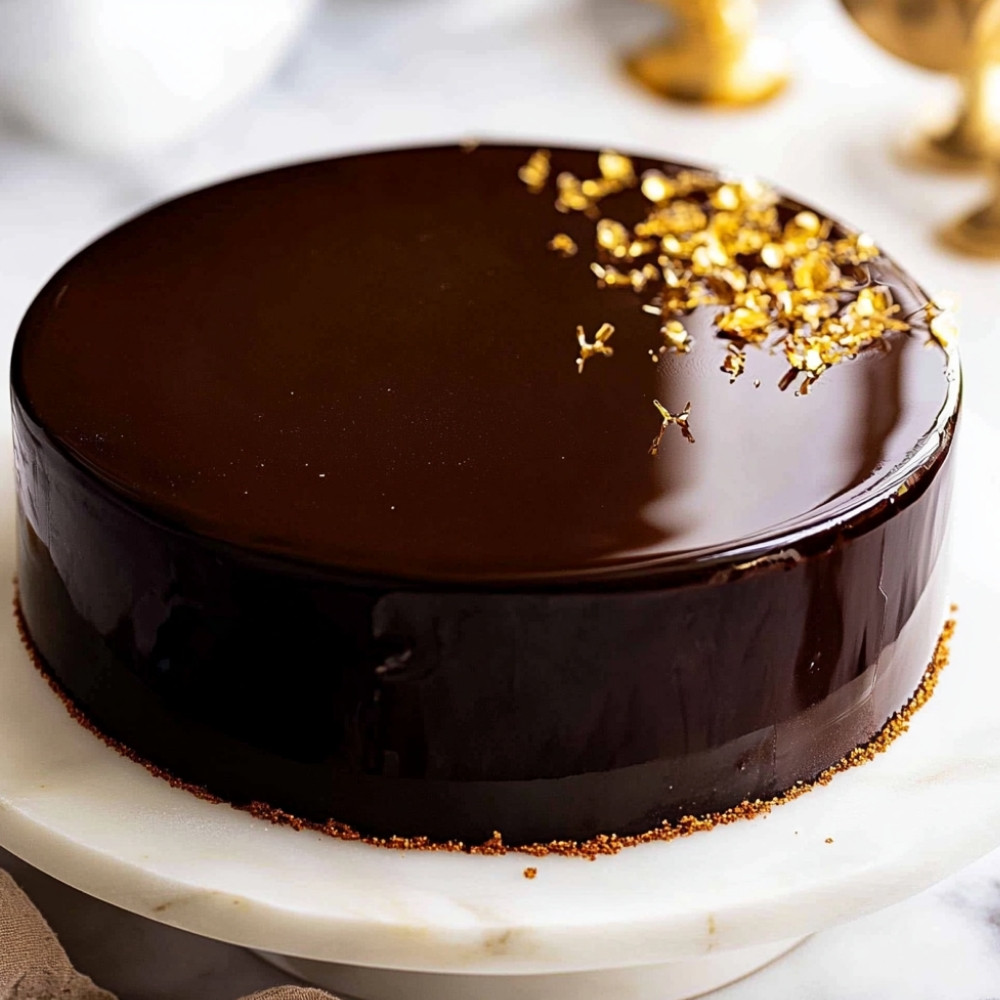
Perfect Your Desserts with This Stunning Chocolate Mirror Glaze
Okay, so let’s talk about chocolate mirror glaze. It’s… well, it’s like this glossy, mesmerizing cloak for your cakes and pastries, and I promise you it makes them look absolutely show-stopping. Imagine slicing into a cake and seeing that shiny, rich surface gleam at you. It’s not just about the looks, though—the chocolate flavor is deep, luscious, and really elevates whatever you put it on. It might seem fancy, but honestly, once you get the hang of it, it’s all about enjoying the process and impressing your friends and family. Trust me, they won’t believe you made it yourself!
Why You’ll Crave It
- It gives any dessert this elegant, professional look that’s just so appealing.
- Rich chocolate flavor that hits all the right notes—what’s not to love?
- It’s surprisingly simple once you know the steps, like a little magic in the kitchen.
- You can customize it with flavors or colors—your dessert, your rules!
- Everyone at your gathering will be talking about it… and asking for seconds, guaranteed.
My family fights over the last piece of cake whenever I use this glaze…
What You’ll Need
- Granulated Sugar: about 200 grams, it’s the base for sweetness and balance.
- Water: 100 milliliters helps to create that luscious texture.
- Sweetened Condensed Milk: 150 grams, adds creaminess—I can’t stress this enough!
- Gelatin Powder: 10 grams, or 5 sheets if you prefer that way, helps it set just right.
- Dark Chocolate: 200 grams, finely chopped—go for at least 60% cocoa for that intense chocolate hit.
- Cocoa Powder: 50 grams, adds depth to the chocolate flavor…
Easy How-To
Prepare A Beautiful Mirror Glaze
Alright, let’s dive in. The first thing you want to do is soak your gelatin. If you’re using sheets, just toss them in some cold water for about 5-10 minutes until they’re soft. If it’s powder, sprinkle it over cold water and let it bloom for the same time. Meanwhile, grab a saucepan and mix your cream and glucose—bring it to heat, but keep an eye on it so it doesn’t boil. I mean, nobody wants a boiling mess!
When the cream starts to shimmer, pour it over your bowl of chopped chocolate and cocoa. Give it a minute to melt before you whisk it all together until smooth… or if you really want to ensure it’s perfect, an immersion blender works wonders too. Then, take that softened gelatin, squeeze it out, and mix it into your warm chocolate blend until it’s all dissolved. Now, let it cool at room temperature. You’re looking for about 30-32°C or… somewhere in that warm, cozy zone before you pour it over your cake.
Position your cake on a wire rack, right over a baking sheet, and pour the glaze right in the center. Watch it flow over and down the sides—oh my gosh, it’s breathtaking! Just let it set for a few minutes before you… well, you know, slice and serve. It’s absolute magic!
Good to Know
- If you have any leftover glaze, store it in an airtight container for up to a week. Just warm it gently when you want to use it again.
- Add some flavor extracts—like vanilla, or even espresso—for a twist that’ll wow your taste buds.
- Quality chocolate really makes a difference… no grocery store chips, please—go for something rich!
Serving Ideas
- Serve it drizzled over a slice of chocolate cake with some fresh berries on the side. Pure bliss.
Top Tricks
- If your glaze seems a bit thick, a gentle warm-up on the stove can save the day. Just don’t, like, scorch it!
Frequently Asked Questions
How long does the mirror glaze last?
So, when stored properly, that shiny glaze can hang out in your fridge for about 3-5 days. Just keep it sealed up tight.
Can I use different types of chocolate?
Yep! You can mix it up with milk or even white chocolate, but keep in mind that the flavors and ratios will change a bit depending on what you choose.
What if my glaze is too thick?
If it’s feeling a little too thick, just reheat it slowly while stirring. It should loosen right up for you. Easy fix!
Can I color my mirror glaze?
Absolutely! You can use gel food coloring to create all sorts of shades if you’re feeling adventurous. It can really make your desserts pop!
Do I need a special cake for mirror glaze?
Not at all! While smoother cakes do work better, you can glaze any cake—just make sure it’s chilled, and you’re golden!
—
In short, mastering a chocolate mirror glaze can transform any dessert from simple to stunning—it’s like giving your cake a little luxury treatment. And with just a few steps and ingredients, you’re well on your way to impressing everyone at your next gathering! Get ready for the compliments to roll in!
More Recipe Suggestions and Combinations
- Mirror Glazed Cheesecake: A creamy cheesecake topped with that shiny glaze will be such a hit!
- Chocolate Mirror Glaze on Mousse Cakes: Enhance your chocolate mousse with a coat of glaze for added richness.
- Fruit Tart with Chocolate Mirror Glaze: Elegant and delicious—a perfect mix of creamy and fruity.
- Layered Cake with Mirror Glaze: Cover your favorite sponge cake in chocolate glaze for a slice of beauty.
- Chocolate Eclairs with Mirror Glaze: Elevate classic eclairs with that glossy finish, you won’t regret it!