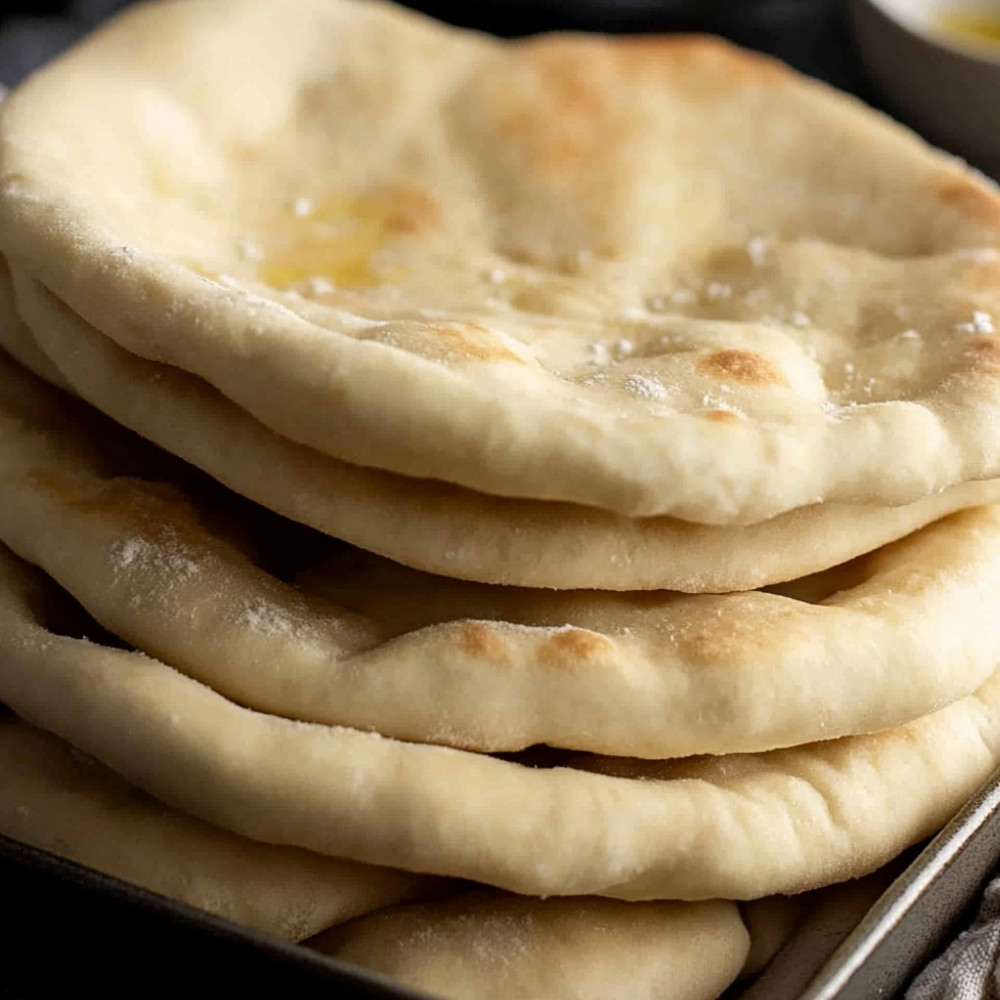
Pita Bread Recipe
Warm from the oven, slightly puffed and golden at the edges, the first pita you make—when it actually balloons just right—feels a bit like magic. You hear this faint, hollow thud as you tap it, and then you tear into it, steam curling out into the kitchen air, and maybe you burn your fingertips just slightly but you don’t even care. That quiet scent of flour and olive oil… the chewy, tender bite… I think, for a moment, you forget it’s just bread. That’s the beauty of making pita bread at home—it’s simple, but it won’t feel ordinary once you try it.
Why You’ll Crave It
- Soft and pillowy with that gentle chew – it’s perfect for scooping, dipping, or stuffing with just about anything
- No strange preservatives, no shortcuts – just pantry staples you’ve likely already got
- Watching them puff in the oven is unreasonably satisfying (seriously… you’ll want to call someone over to see)
- Makes the whole kitchen smell like a little bakery in Athens or Beirut or your own lovely corner of the world
- They freeze well – and reheat beautifully – so you’ll always have bread on hand without ever opening a plastic bag
The first time I made these, I sat cross-legged in front of the oven door just watching them puff—it felt like a small, slow miracle.
What You’ll Need
- All-purpose flour: 4 cups – sifted if you’re feeling fancy, but not required
- Warm water: 1½ cups – not too hot (think: pleasantly warm bath temperature)
- Active dry yeast: 2 teaspoons – make sure it’s not expired (learned that the hard way…)
- Salt: 1 teaspoon – fine salt works best here
- Sugar: 1 teaspoon – just enough to wake up the yeast and help it bloom
- Olive oil: 2 tablespoons – something mild and golden, nothing too peppery
Easy How-To
Give the yeast its moment
In your largest mixing bowl, stir together the warm water, sugar, and yeast. Leave it alone for 5–10 minutes—it should go foamy and cloudy. If it doesn’t… well, your yeast might be sleepy or old. Start again if needed.
Make a shaggy little dough
Add the flour and salt right into the yeast mix. Stir with a wooden spoon at first, then switch to hands once it gets awkward. The dough will look messy and loose – that’s okay. It’s finding its way.
Knead and breathe
Move everything to a floured surface and knead for 8–10 minutes. Press, fold, turn – over and over until it feels smoother and springs back a little when you poke it. You’ll feel it transform under your hands.
Let it rise and stretch
Place the dough in a lightly oiled bowl, cover with a cloth or plastic wrap, and leave somewhere warm for 1–2 hours. It should double in size and feel airy to the touch – like someone’s whispered into it.
Heat things up
While the dough rises, preheat your oven to 475°F (245°C). If you’ve got a baking stone, put it in now. If not, a regular baking sheet will still do wonders.
Divide and shape
Once your dough has risen, punch it down gently – just enough to deflate it. Divide into 8 pieces, roll those into soft balls. Cover and rest for 10 minutes… dough likes a little pause now and then too.
Roll into rounds
On a floured board, roll each piece into a circle (about 6 inches across, ¼ inch thick). Don’t worry if they’re not perfect circles – it’s real bread, not geometry class.
Rest again, just briefly
Cover the rolled-out pitas with a towel and let them rise again for about 30 minutes. They’ll puff better this way—and taste more tender too.
Bake and watch the puff
Place one or two on your hot stone or sheet and bake 5–7 minutes. When they puff like little balloons, it’s okay to smile wide. You made that happen. Golden edges mean they’re ready.
Cool and stash (or eat warm!)
Let them cool on a rack or tucked into a clean kitchen towel. Eat right away or store in a sealed bag at room temp for a day or two. They freeze wonderfully too.
Good to Know
- If none of your pitas puff, that’s okay. They’re still delicious. Dip them proudly and call it rustic flatbread.
- A hot oven is non-negotiable – patience pays off here. Lukewarm heat just won’t do the trick.
- It’s oddly therapeutic to knead by hand, but a stand mixer with a dough hook will happily do the work on busy days.
Serving Ideas
- Slice into halves and fill with smoky grilled eggplant, tahini, herbs, and lots of lemon juice
- Cut into wedges and toast to serve with dips – hummus, labneh, muhammara, or even spinach-artichoke for a mixed-culture twist
- Make a breakfast wrap with scrambled eggs and roasted tomato – quick and satisfying
Top Tricks
- If you’re using a baking sheet, flip it upside-down before preheating so the bottom side is super hot and flat – that helps puffing too
- Keep your dough balls covered so they don’t dry out while you’re rolling. A little extra moisture makes a lot of difference later
Frequently Asked Questions
Can I use whole wheat flour instead of all-purpose?
Yes, absolutely. But I like to blend it—half whole wheat, half all-purpose. It adds flavor without making the pita too dense or dry.
My pita didn’t puff – what did I do wrong?
Often it just comes down to heat. The oven or pan wasn’t quite hot enough. Also, make sure you roll the dough evenly and let it rest properly.
Can I make the dough ahead of time?
Yes. After the first rise, you can refrigerate the dough overnight. Let it come back to room temp before rolling and baking.
What’s the best way to reheat pita?
A hot skillet, dry, for 30 seconds on each side works best. Or pop it into a warm oven for a few minutes wrapped in foil to make it soft again.
Conclusion
Homemade pita bread might seem simple, but it brings a kind of quiet joy that’s hard to explain until you’ve made it. It invites you to slow down, roll dough with your hands, smell that good warm yeast rising in your kitchen. I hope this recipe becomes one of those things you return to again and again—messy, reliable, comforting—and always just a bit magical.
More recipes suggestions and combination
Pita Bread Sandwiches
Fill your fresh pita pockets with roast chicken, tangy pickles, and garlic sauce – perfect lunch fare.
Mezze Platter
Arrange pita with a rainbow of Mediterranean dishes – like hummus, olives, labneh, and grilled peppers.
Stuffed Pitas
Try it with falafel, crunchy lettuce, tomatoes, and tahini poured liberally on top.
Pita Chips
Leftovers? Slice, brush with olive oil, sprinkle with za’atar or salt, and bake until crisp.
Pita Pizza
A quick weekday dinner – top a pita with tomato sauce, mozzarella, and whatever toppings you love.
Breakfast Pita
Scrambled eggs, baby arugula, and feta… wrapped inside a warm pita for breakfast worth waking up for.
Dessert Pitas
Fill them with sweet whipped ricotta, cinnamon, honey-drizzled berries – surprisingly lovely at the end of a meal.